Learn how to make Cookie Crisp cereal from scratch, right at home! These bite-sized cookies are made with whole-wheat flour and corn flour, loaded with mini chocolate chunks, and baked to crispy perfection. Enjoy them for breakfast with milk, as a snack with yogurt, or sprinkled over ice cream!
I’ve made plenty of homemade cereals over the years—from cinnamon cereal to buckwheat flakes and chocolate peanut butter cereal—but Cookie Crisp has been on my must-try list for ages. It’s one of those childhood favorites that’s always packed with nostalgia. Were you also having a big bowl of them as a kid?
What makes this version special is that it’s inspired by the European Cookie Crisp, which is a little less sweet and made with a blend of whole-wheat flour and corn flour. It’s got all the cookie flavor you remember from the classic, just a bit more grown-up!

🌾 How Do They Stack Up Against the Original?
Okay, so they’re not a perfect 1:1 dupe of Cookie Crisp, but honestly, they come pretty close!
- Taste: The biggest difference is in the flavor. They don’t have that distinct corn note you get from the store-bought version. I’m pretty sure there’s some kind of corn flavoring in those because, despite using corn flour, I couldn’t achieve that deep corn flavor. But they have a deeper chocolate flavor—which, if you ask me, is definitely a win!
- Texture: While they’re still super crispy and airy, they’re not quite as light as the originals. Cookie Crisp has more of that puffed-cereal crunch, while these lean more toward crispy mini cookies.
⭐️ Why I Can’t Stop Making These
- Extra crispy and taste like mini cookies: Forget soft and chewy—these little guys are crispy all the way through, just like any good breakfast cereal should be! Plus, they pack mini chunks of dark chocolate and a generous amount of vanilla extract.
- Fun to make: Sure, they require a bit of patience, but once you get the hang of it, you’ll be piping out your cereal in no time! How cool is it to say you made your very own cereal from scratch?!
- Simple ingredients: All pantry staples you probably already have on hand.
- Healthier than store-bought: Less sugar and no artificial additives.
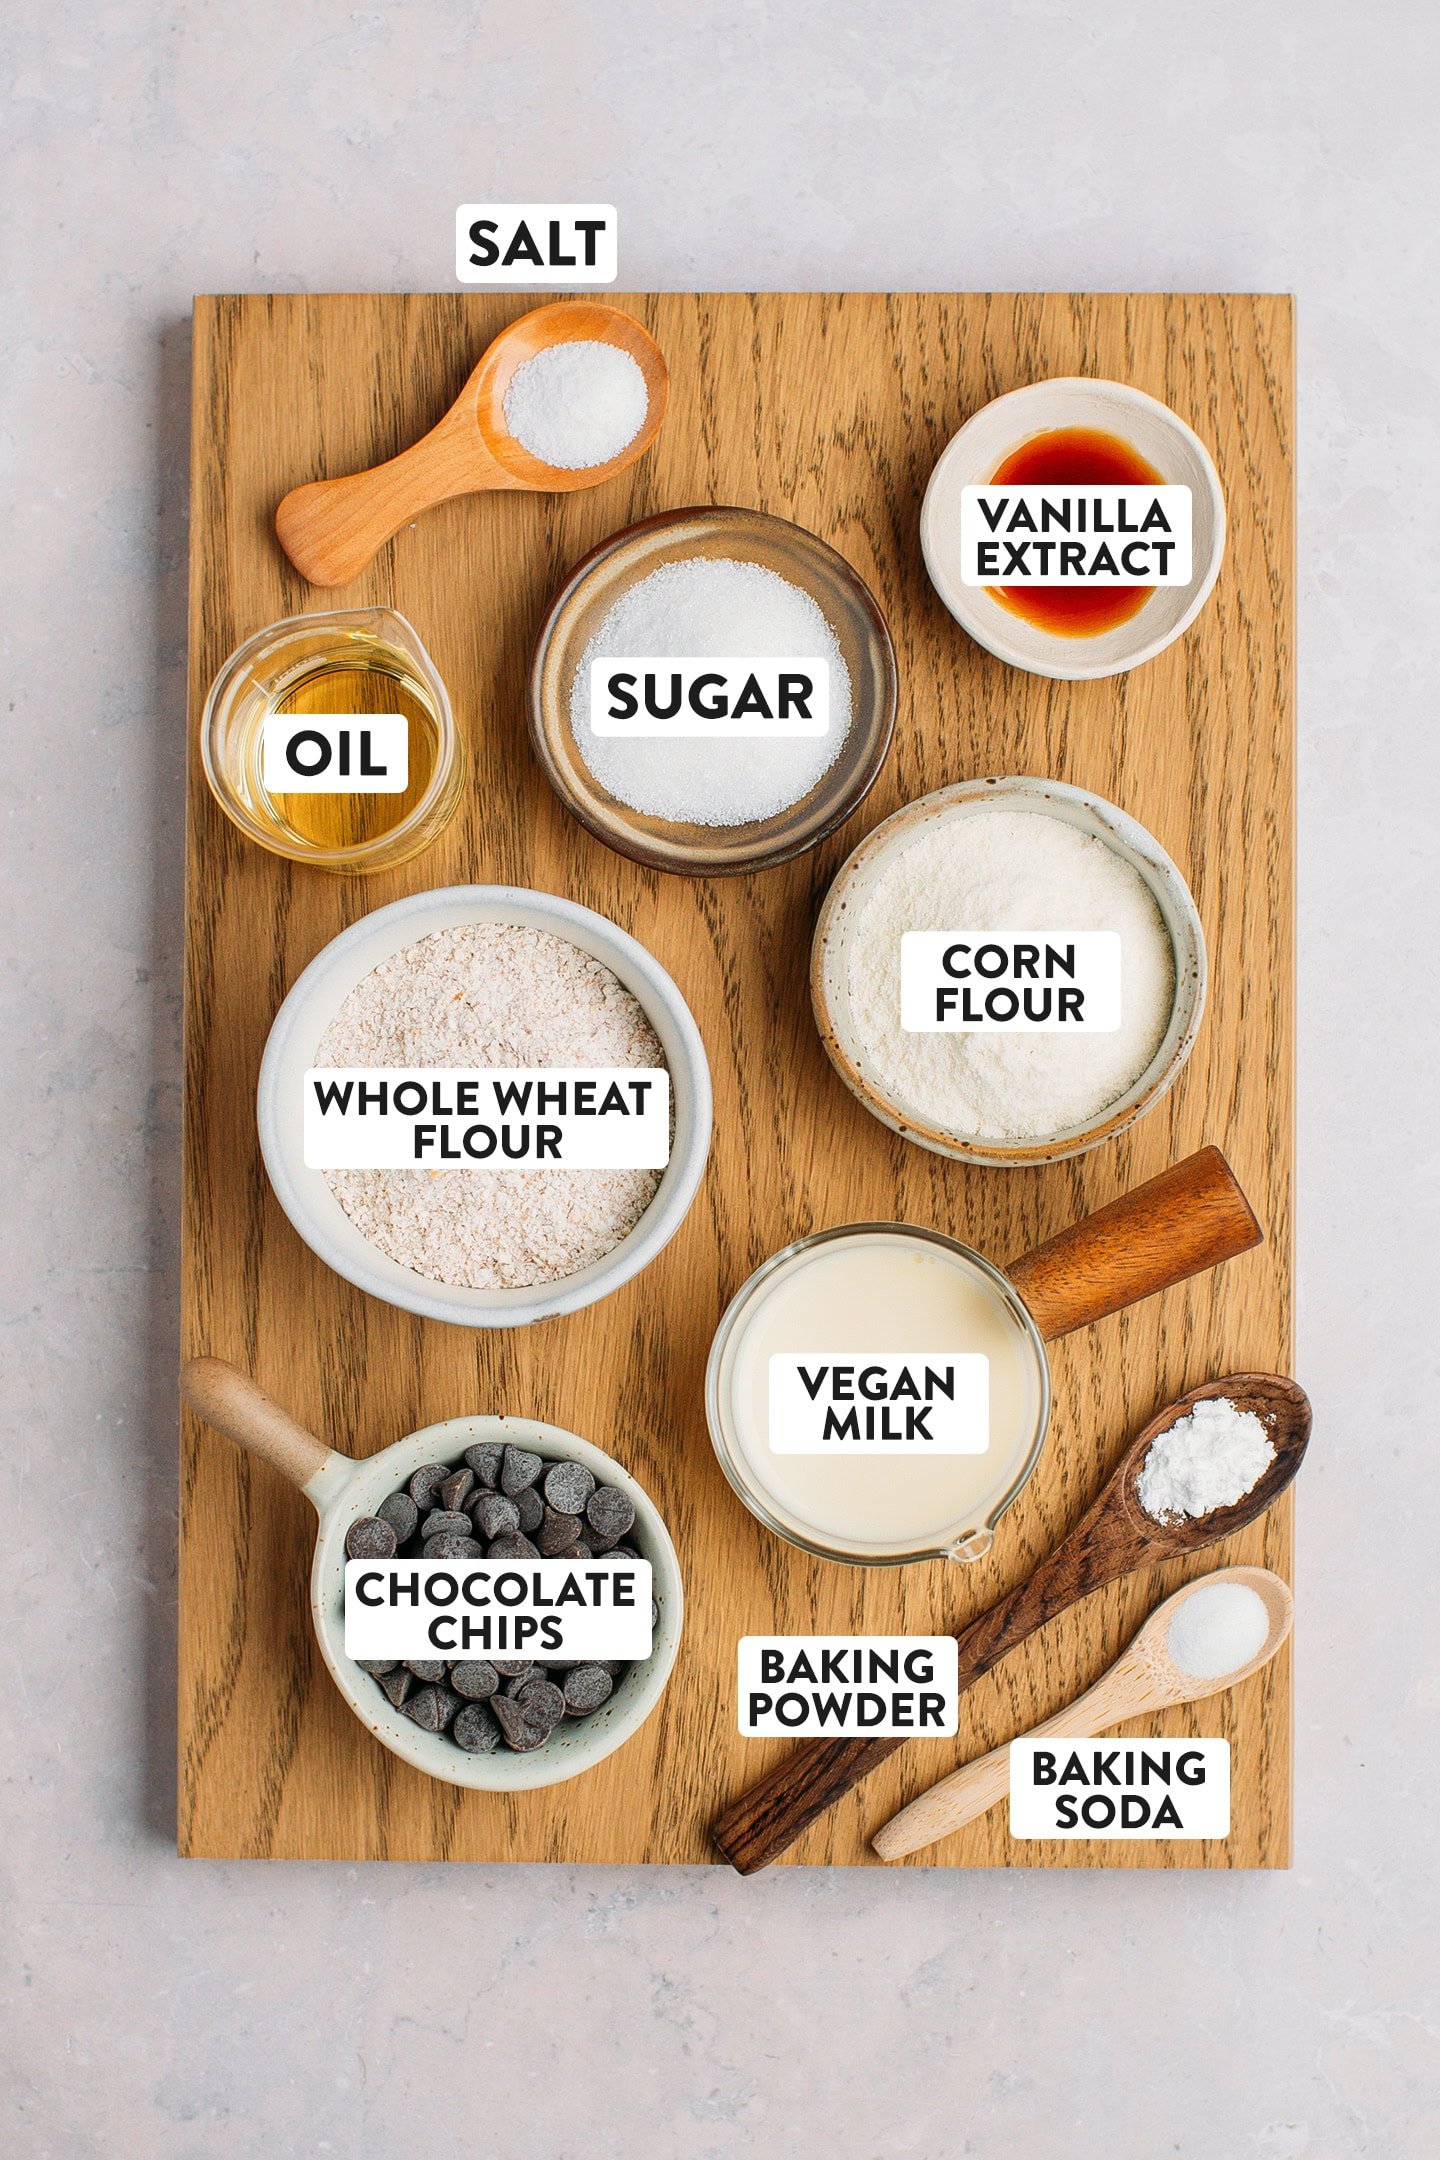
🍫 Grab These Ingredients
This homemade cereal relies on simple, pantry staples that you probably already have on hand. Here’s what you’ll need:
- Whole-wheat flour: Adds a wholesome, nutty flavor.
- Corn flour: Provides that classic cereal texture.
- Baking powder & baking soda: Help the cookies crisp up.
- Sugar: For a touch of sweetness.
- Vanilla extract: For that classic cookie flavor.
- Dark chocolate: Finely chopped for mini chocolate chunks.
- Oil: Just a small amount for crispiness.
- Plant-based milk: Binds the dough together.
📔 Pro Tips
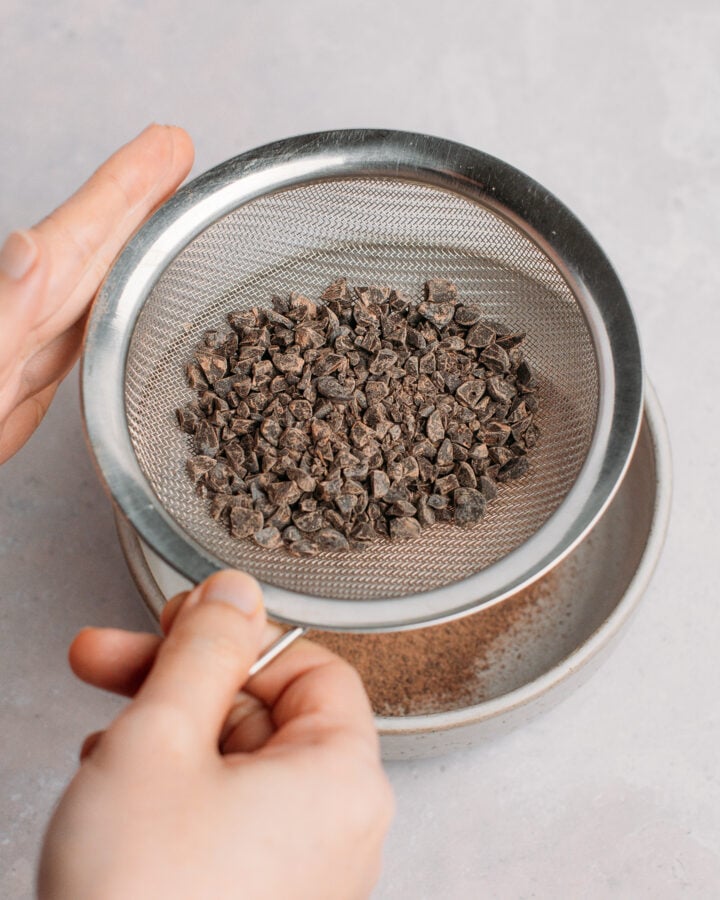
Chop the chocolate chips finely.
Make sure to chop your chocolate very finely so it can easily pass through the piping tip. If you spot any chunks that appear too large after chopping, give them another quick chop before stirring them into the batter.
Pipe them flat.
These cookies don’t spread much in the oven, so it’s important to pipe them into a flat shape from the beginning. Also, try to keep them as even in size as possible so they all bake uniformly. That’s the secret to getting perfectly crispy cookies!
Don’t overbake.
Keep a close eye on them during the final minutes of baking—they can go from perfectly crispy to over-baked quickly.
🥣 How It’s Done

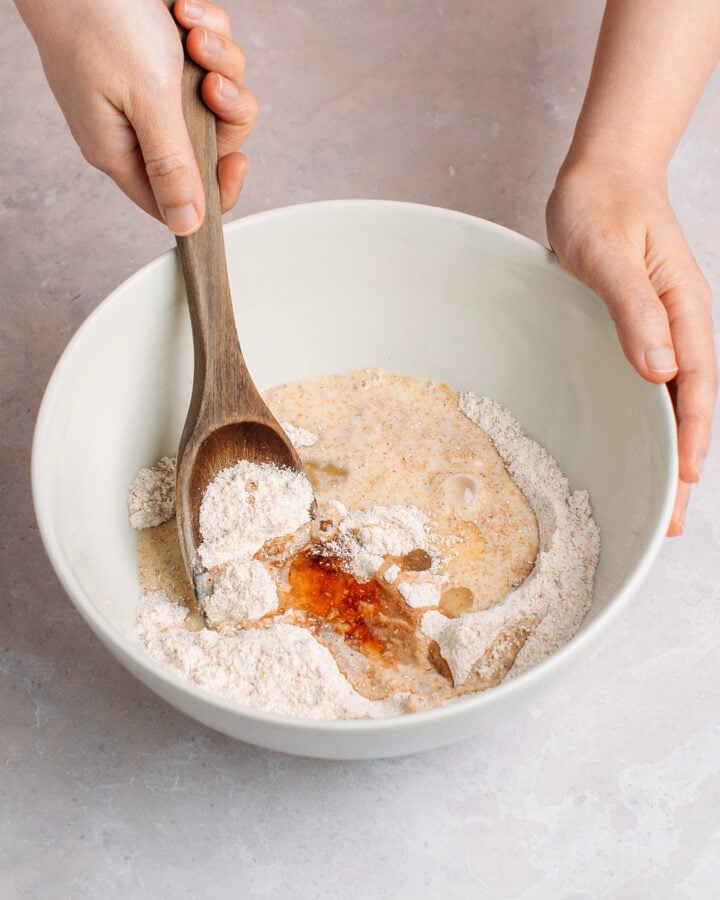
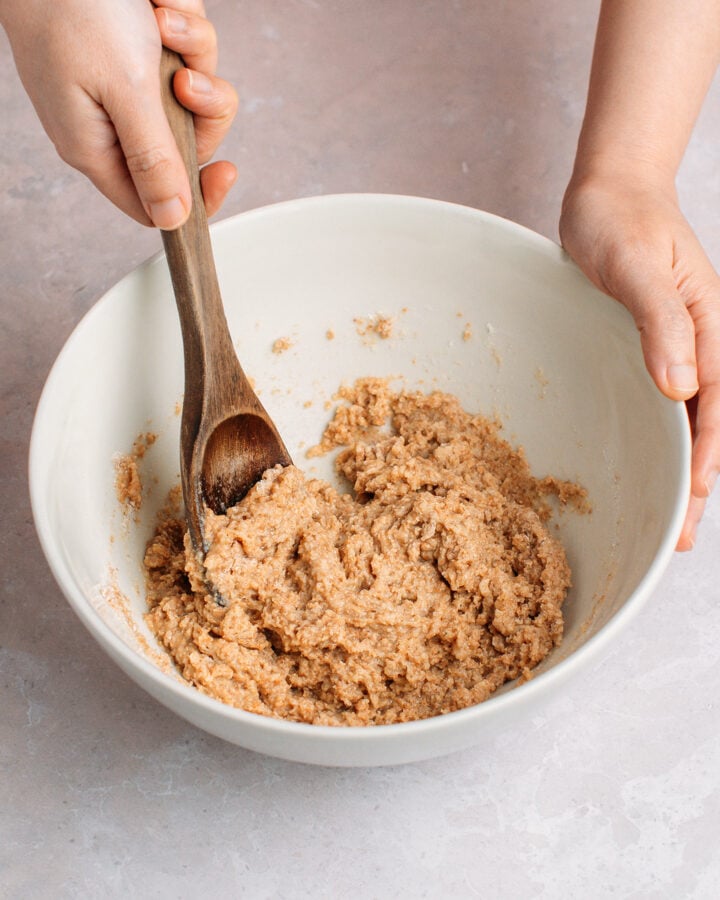
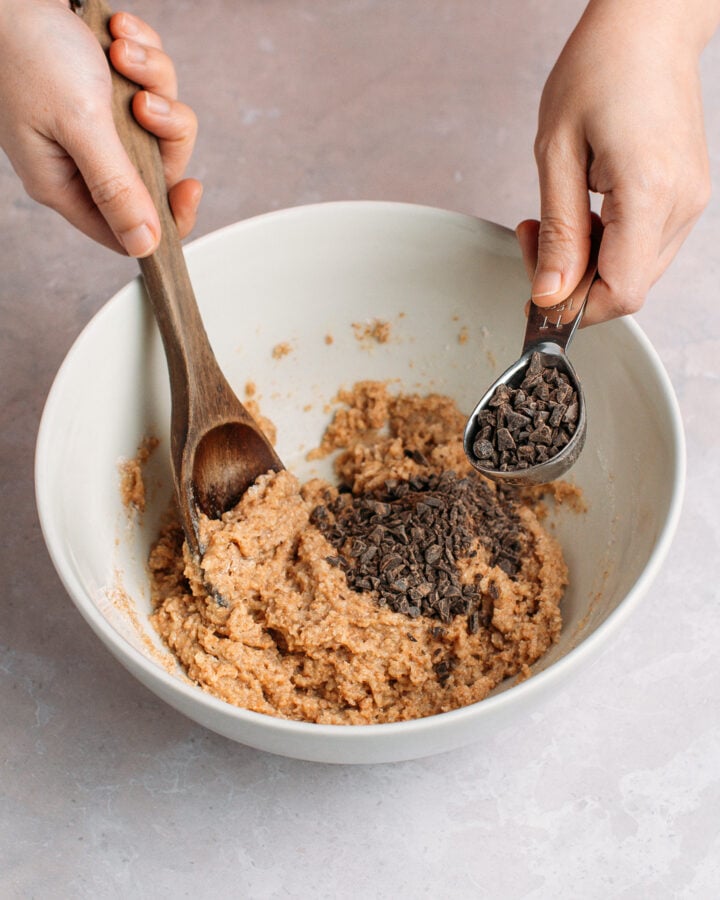
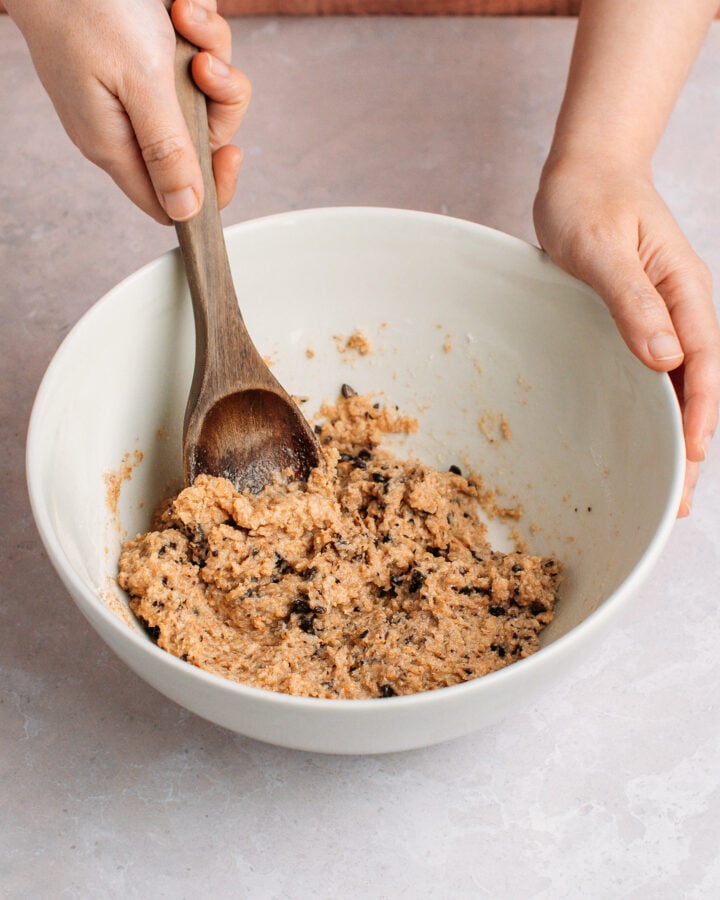
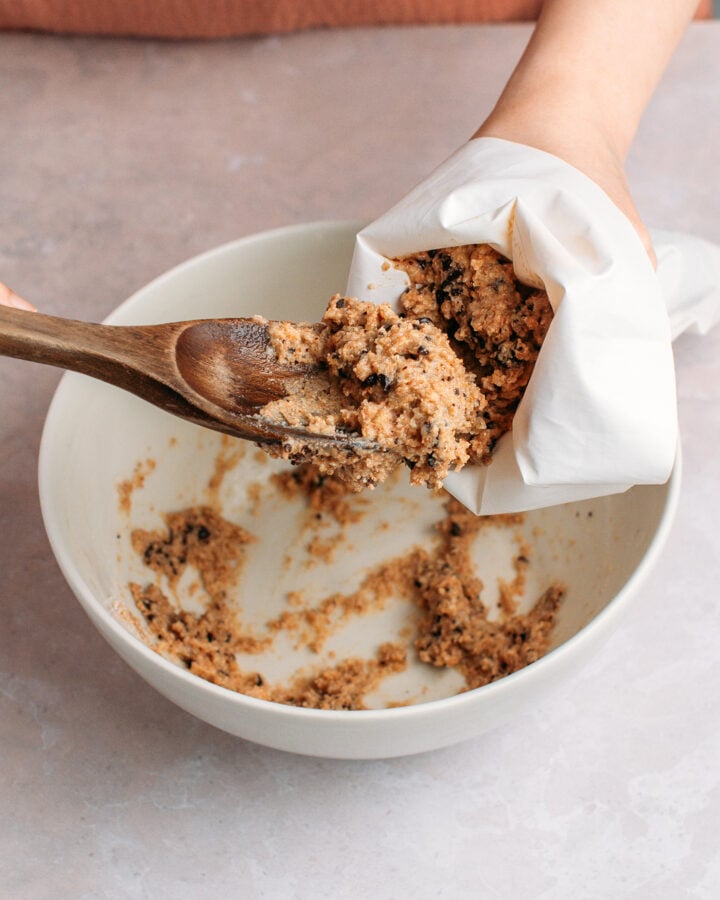
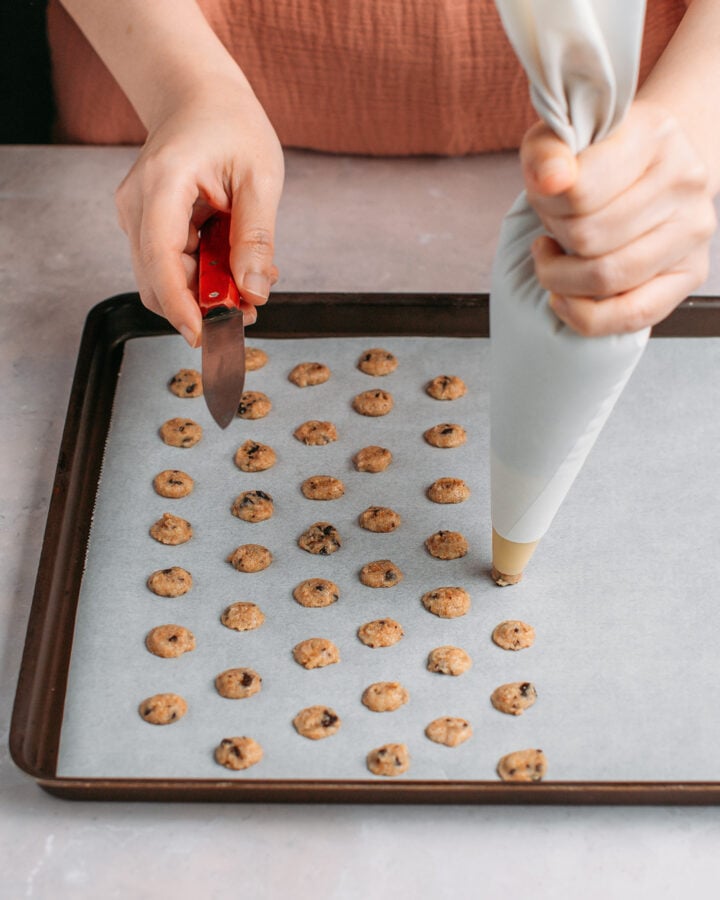
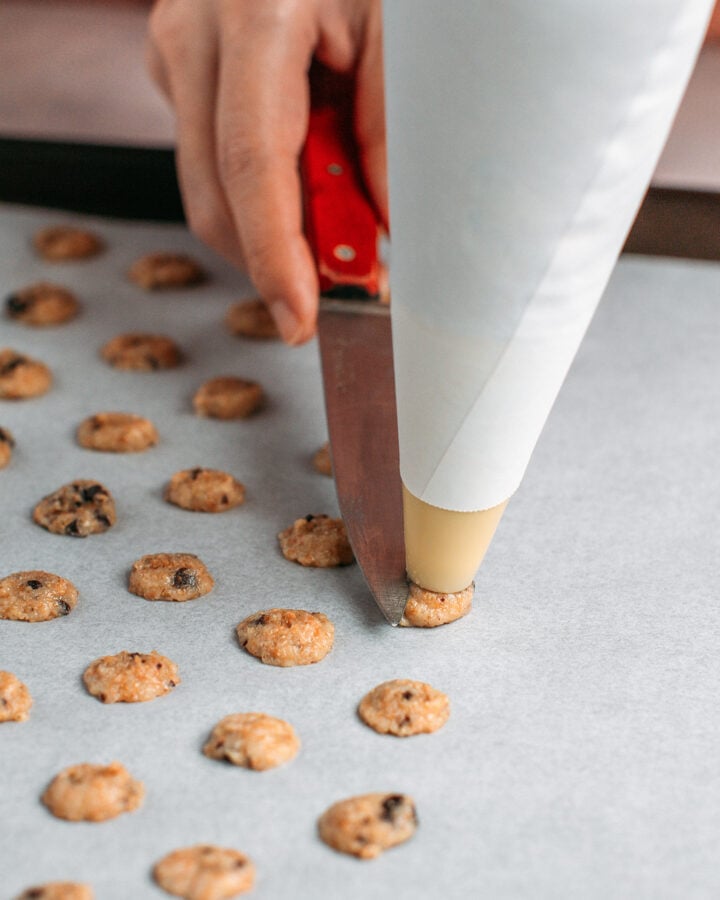
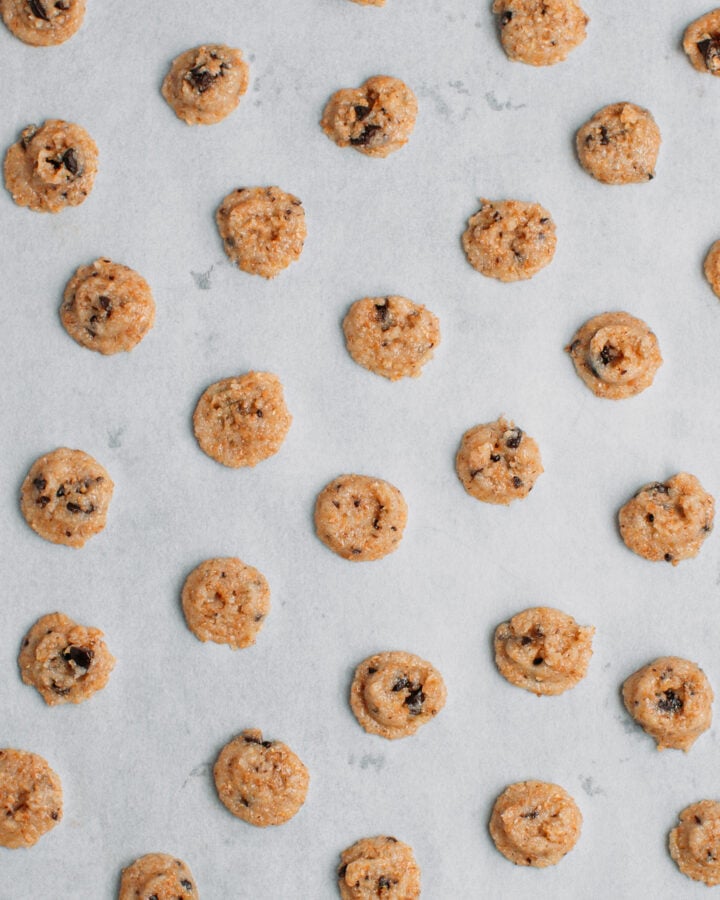

You can serve this cereal with your favorite plant-based milk (soy, cashew, hazelnut milk, or even peanut milk) for breakfast. Or, have them as a snack with almond milk yogurt or cashew yogurt. They also make the ultimate topping for vanilla ice cream!

🌰 Tweak Them
Want to improvise? Feel free to customize the cereal to your liking! Here are some suggestions:
- Add nuts: Fold in finely chopped pecans or almonds for extra crunch.
- Spiced version: Add a pinch of cinnamon or nutmeg to the dough for warm, cozy notes.
- Double chocolate: Add an extra tablespoon of cocoa powder for more intense chocolate flavor.
- Lemon zest: Add a teaspoon of lemon zest for a bright, citrusy twist.
❄️ How to Store
This cereal will stay crispy for up to 3 weeks if stored in an airtight container at room temperature. Just make sure it’s completely cool before storing!

💬 Frequently Asked Questions
How thin should I pipe the cereal?
Aim for no thicker than 1/8 inch (about 3 mm). This ensures they bake up perfectly crispy.
Why are my cereals soft instead of crispy?
There are a few possible reasons: 1) Your oven wasn’t hot enough—make sure to preheat it for at least 15 minutes. 2) Your cookies were underbaked or piped too large—try piping smaller cookies next time or slightly extend the baking time. 3) You didn’t let them cool completely—if stored while still warm, trapped moisture can make them soft.
Can I make these gluten-free?
I haven’t tried that yet, but I believe it should work with a 1:1 gluten-free flour blend. You may need to adjust the liquid slightly.
Can I use a cookie press instead of a piping bag?
Yes! A cookie press with a small disc attachment would work perfectly for this recipe.
Recreate the magic of Cookie Crisp at home with this fun and delicious recipe! These little cookies are crispy, chocolatey, and perfect for breakfast, snacking, or dessert. A true labor of love that’s absolutely worth it!
Homemade Cookie Crisp Cereal
Ingredients
- 3/4 cup whole-wheat flour (90g)
- 1/4 cup corn flour (30g)
- 1/4 cup granulated sugar (50g)
- 1/2 tsp baking powder
- 1/4 tsp baking soda
- 1/4 tsp salt
- 1/4 cup plant-based milk (60ml)
- 2 tbsp neutral oil (30ml)
- 1 tsp vanilla extract
- 1/3 cup dark chocolate, finely chopped (60g)
Instructions
- Preheat: Preheat your oven to 350°F (175°C). Line two baking sheets with parchment paper.
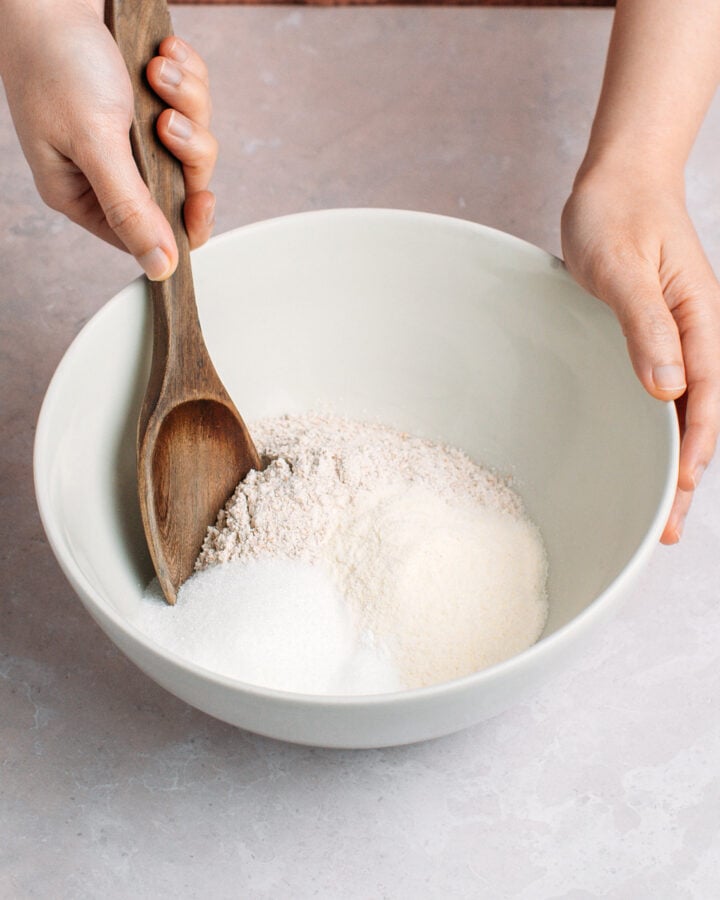
- Mix dry ingredients: In a medium bowl, whisk together the whole-wheat flour, corn flour, sugar, baking powder, baking soda, and salt.
- Add wet ingredients: Add the plant-based milk, oil, and vanilla extract. Mix until a soft dough forms.
- Add chocolate: Fold in the finely chopped dark chocolate until evenly distributed.
- Fill piping bag: Transfer the dough to a piping bag fitted with a large round tip (or use a folded parchment paper cone).
- Pipe: Pipe small rounds of dough onto the prepared baking sheets, about 1/2 inch (1.2 cm) in diameter and no thicker than 1/8 inch (3 mm). Keep them flat and even.
- Bake: Bake for 10-12 minutes, until the edges are golden brown and the cookies are firm to the touch. Keep a close eye on them—they can burn quickly.
- Cool: Let the cereal cool completely on the baking sheet—it will crisp up further as it cools.
Notes
- Chocolate: Finely chop the chocolate so it passes easily through the piping tip.
- Piping tip: Hold the bag at a 90° angle and pipe flat circles for best results.
- Storage: Store in an airtight container at room temperature for up to 3 weeks.
- Gluten-free option: Try using a 1:1 gluten-free flour blend (not tested).