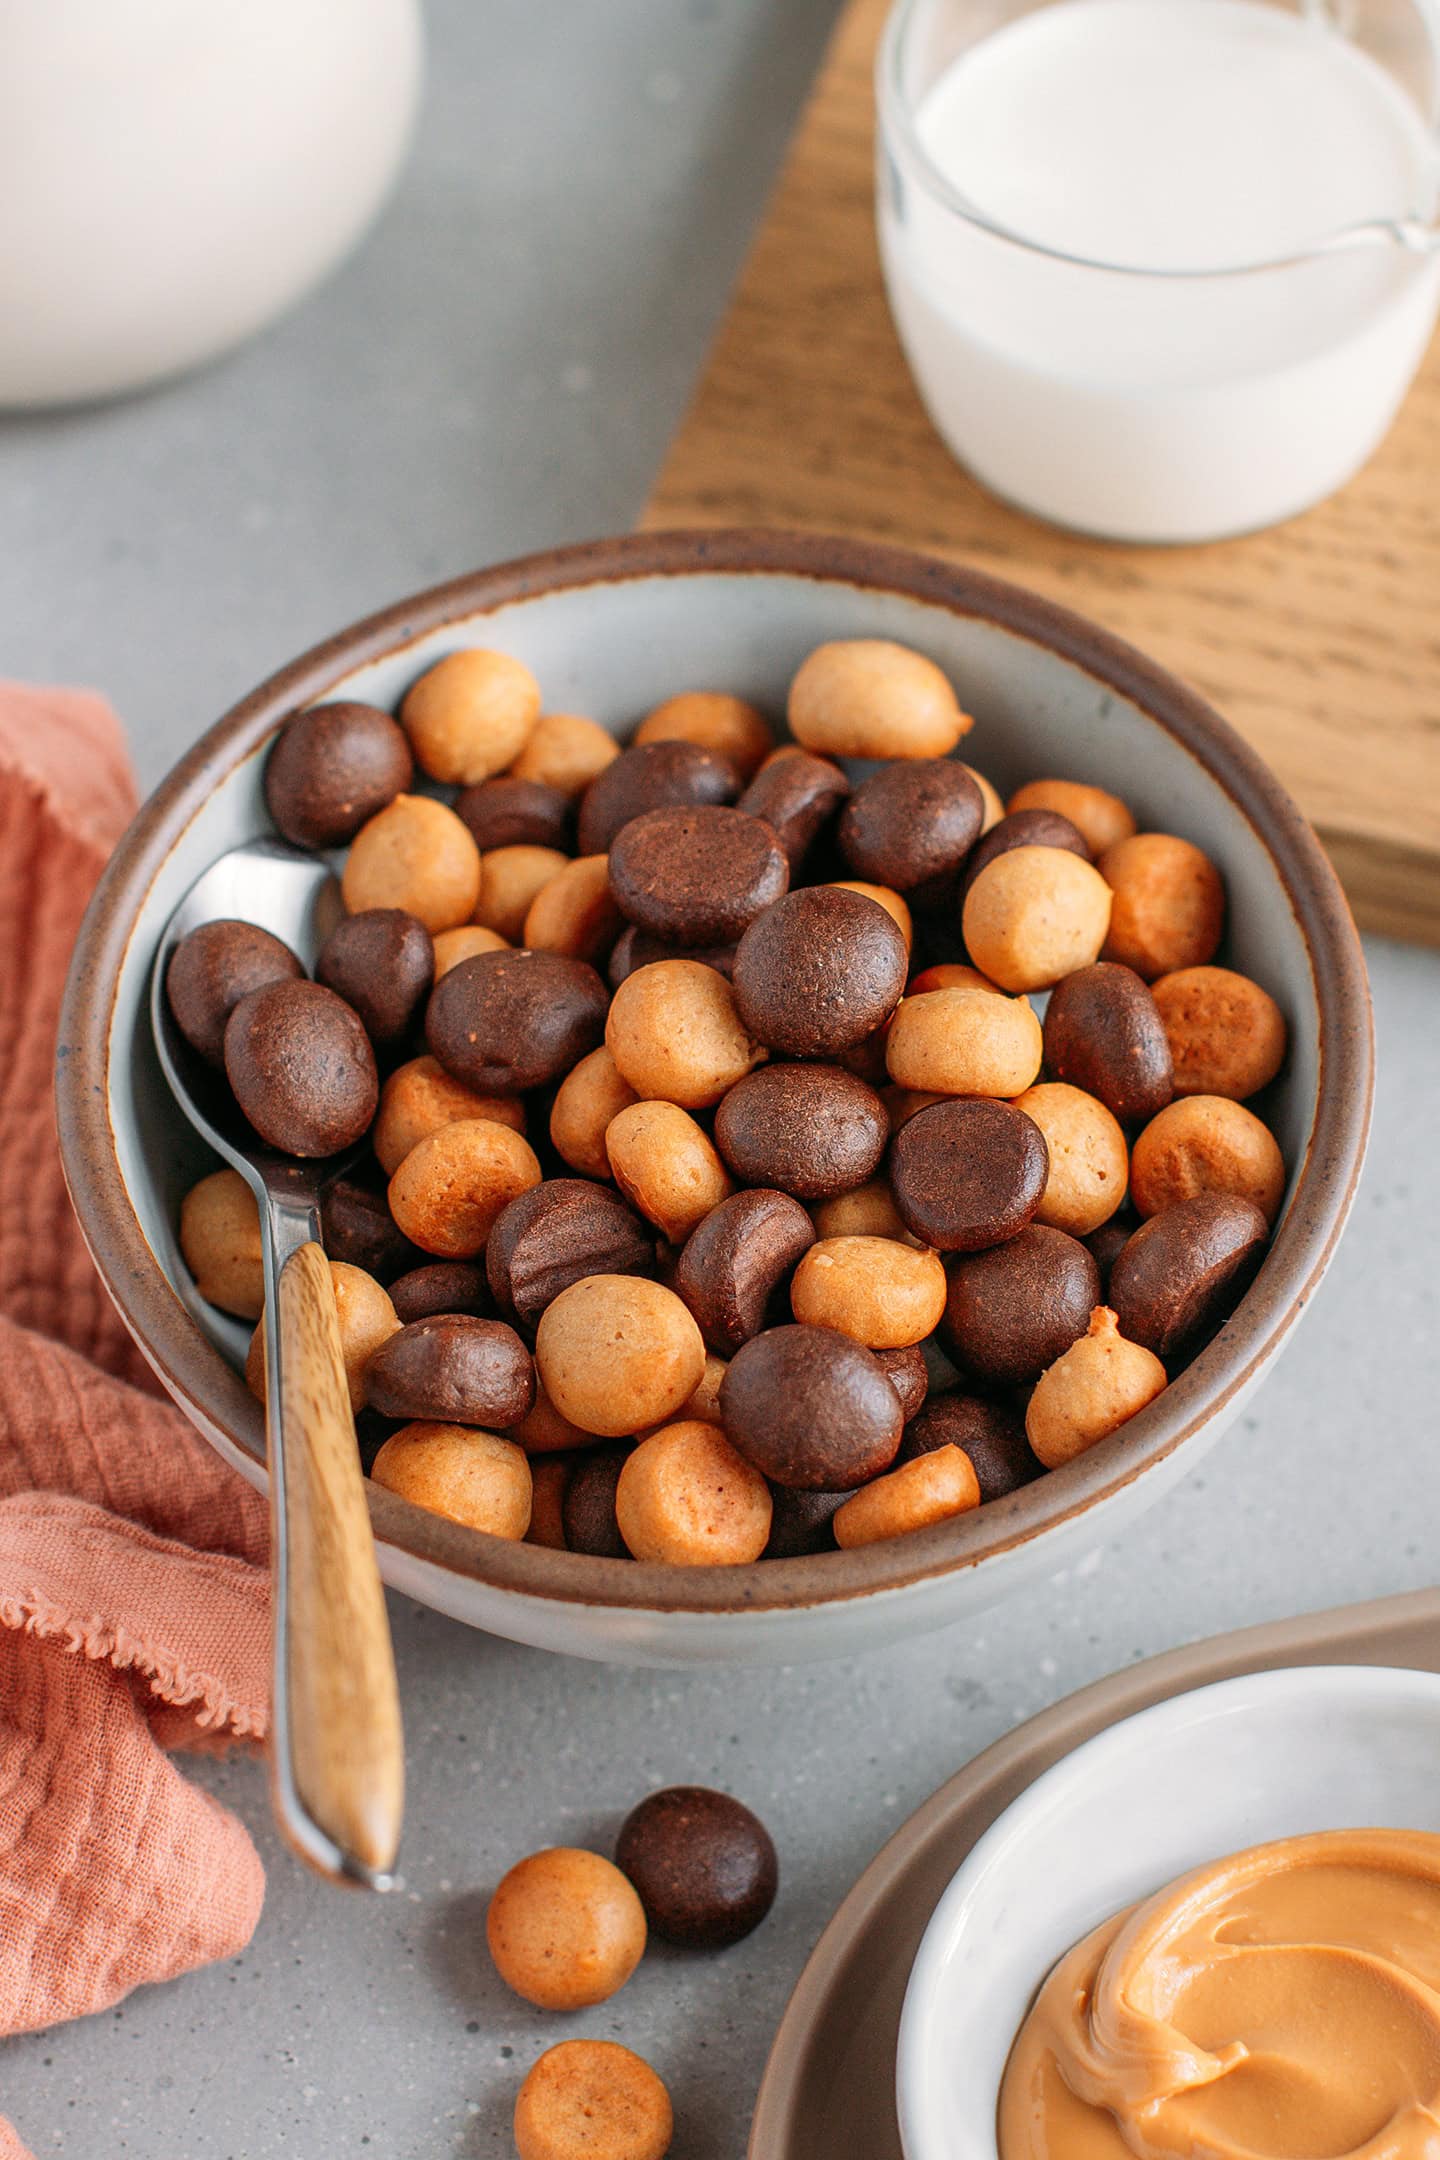
Forget about store-bought cereal and try this homemade chocolate peanut butter version! It’s super crunchy, not overly sweet, and made with just 9 simple ingredients. Enjoy it with cold or warm milk, stir it into yogurt, or sprinkle it over ice cream for an extra treat!
Love cereal? Love chocolate + peanut butter? Then you’re absolutely going to love this homemade chocolate peanut butter cereal!
Making your own cereal might sound wild, but it’s actually quite simple and much healthier than most supermarket options. I’m no stranger to homemade cereal—having previously made cinnamon cereal—but even though I love cinnamon, I was craving a chocolate version. And let’s be real, chocolate isn’t complete without peanut butter. It’s hands down the best combination ever!
While this recipe is clearly inspired by Reese’s Puffs, keep in mind that this homemade version doesn’t have the same light, puffed texture (that’s pretty much impossible without special equipment). Instead, these cereals are more like tiny crunchy cookies! Honestly, that’s a bonus because they stay crispy even longer in milk!
⭐️ Why You’ll Love It
- The perfect combo: Chocolate and peanut butter are a match made in heaven. Turning that combo into cereal? Pure dream come true!
- Extra crunchy: These cereals are much crunchier than regular puffed ones, so they stay crisp in milk longer. No more rushing to finish your bowl before it turns soggy.
- Double peanut flavor: The peanut butter version packs a double dose of peanut flavor with both peanut butter AND powdered peanut butter in the batter.
- Simple to make: Just mix, pipe, and bake—perfect for making with kids!
- Healthier: Less sugar and no artificial additives compared to store-bought cereals.
🥜 What You’ll Need
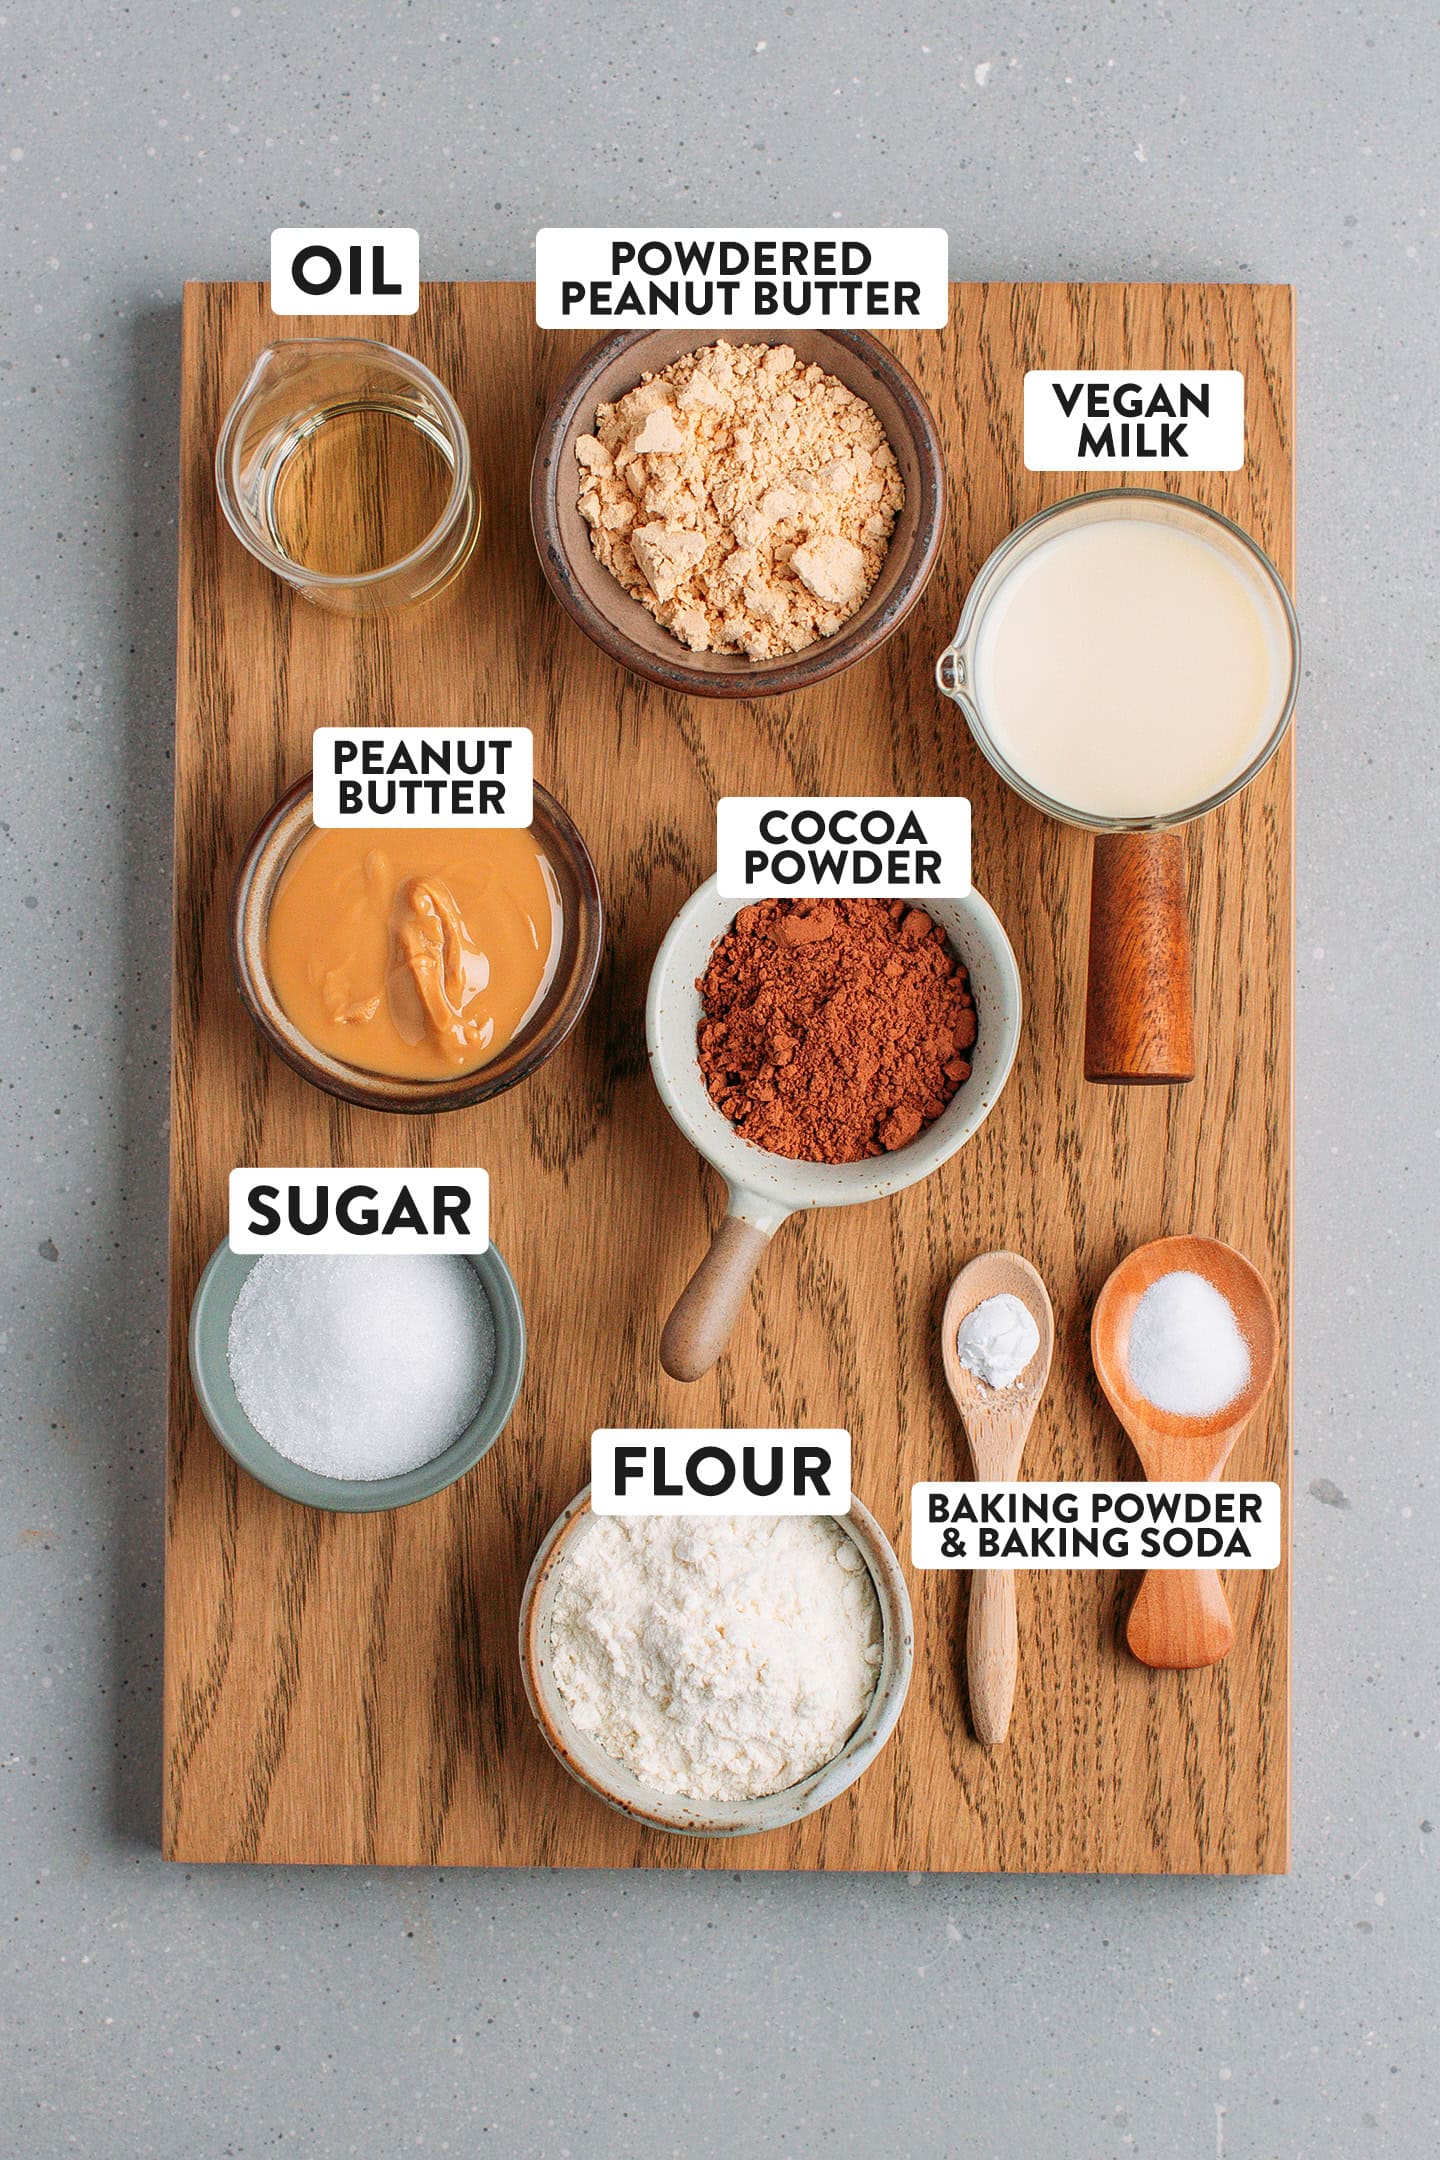
Here are the ingredients you’ll need for this delicious cereal:
- All-purpose flour: Provides structure and prevents crumbling.
- Sugar: Adds sweetness—use coconut sugar for a refined sugar-free option.
- Baking powder & baking soda: Help the cereals puff and crisp up.
- Oil: Just a tablespoon to help the cereal crisp up during baking.
- Peanut butter: Natural peanut butter for authentic flavor.
- Powdered peanut butter: Adds intense peanut flavor without extra fat or moisture.
- Cocoa powder: For the chocolate cereal. Dutch-processed gives a richer color and flavor.
🥣 How to Make It
📔 Pro Tips for Success
Double the recipe.
One batch yields approximately 2 cups of cereal, which is enough for 3 to 4 servings. If you want a big jar of cereal, feel free to double or even triple the recipe. Just keep in mind that piping all the batter takes patience, and you’ll likely need to bake in 2 to 3 batches.
Make small, even bites.
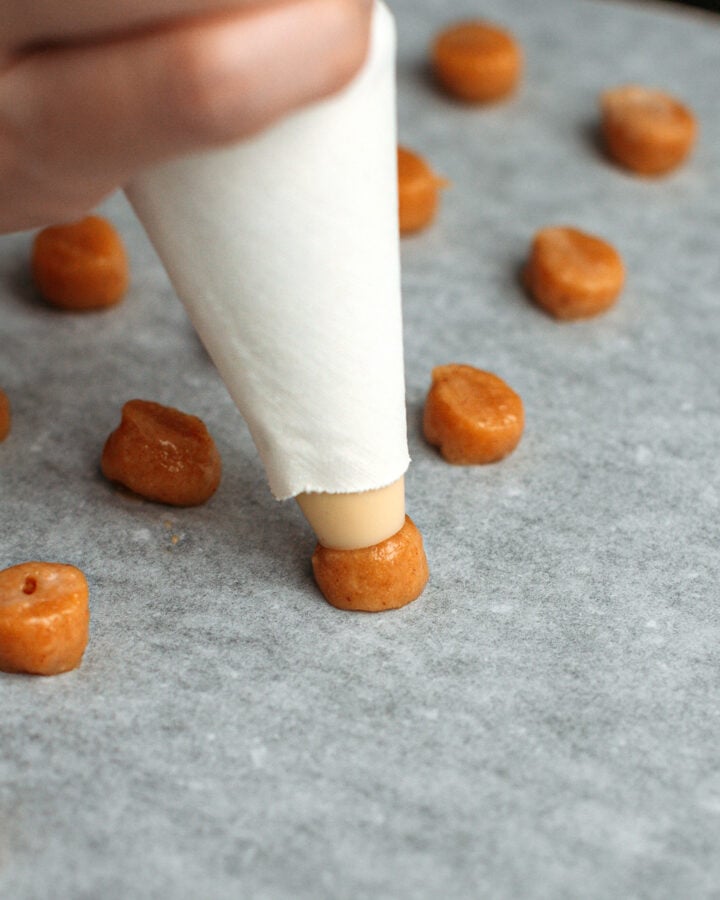
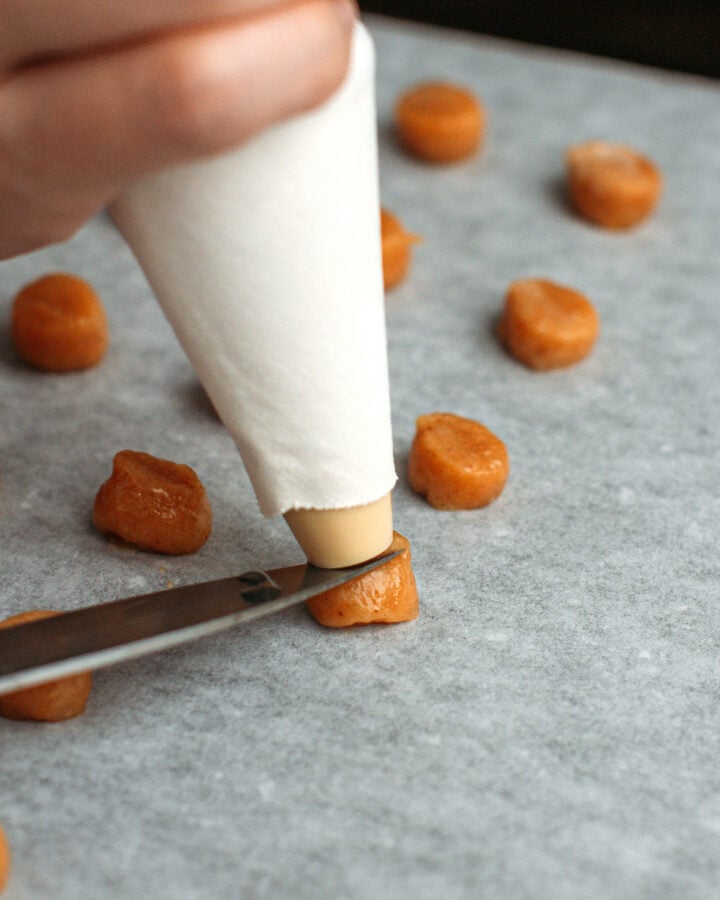
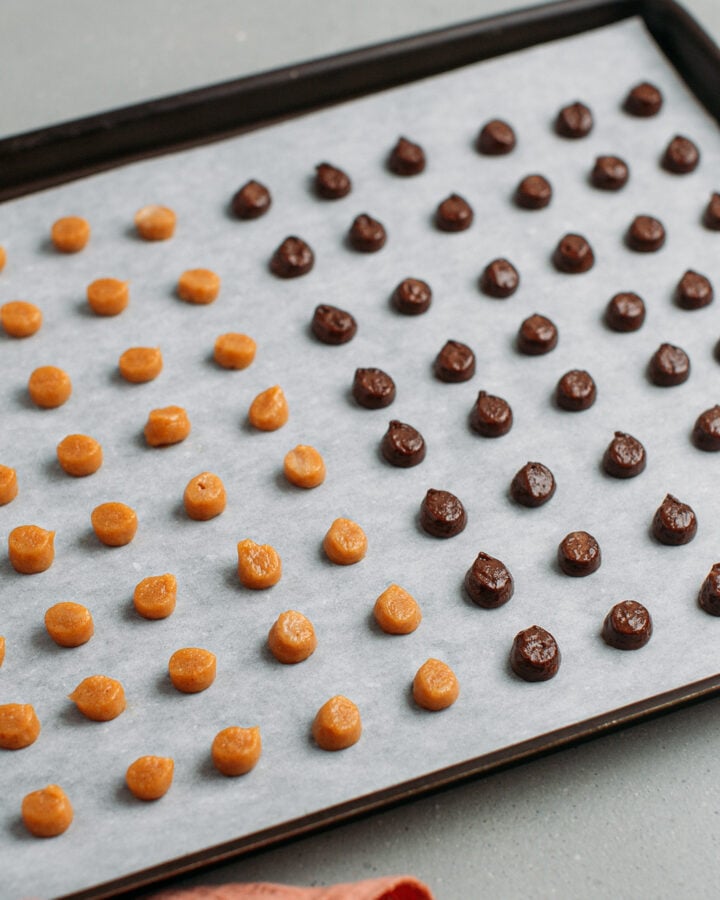
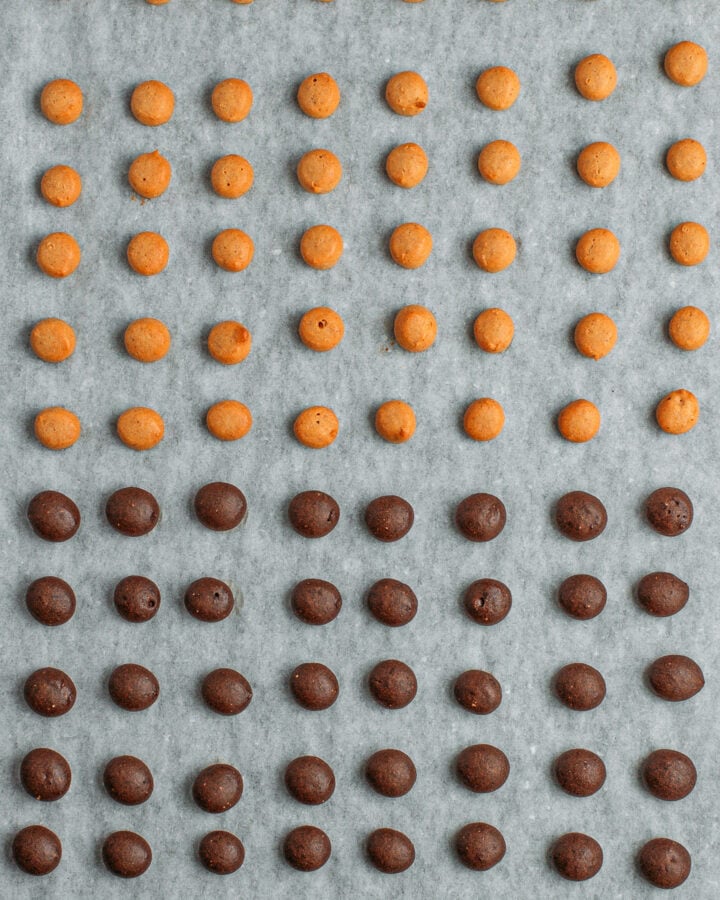
To ensure all your cereals are crunchy and evenly golden brown, try to pipe out even balls that are approximately 1/3 inch (1 cm) wide and 1/4 inch (0.6 cm) tall.
Don’t overbake.
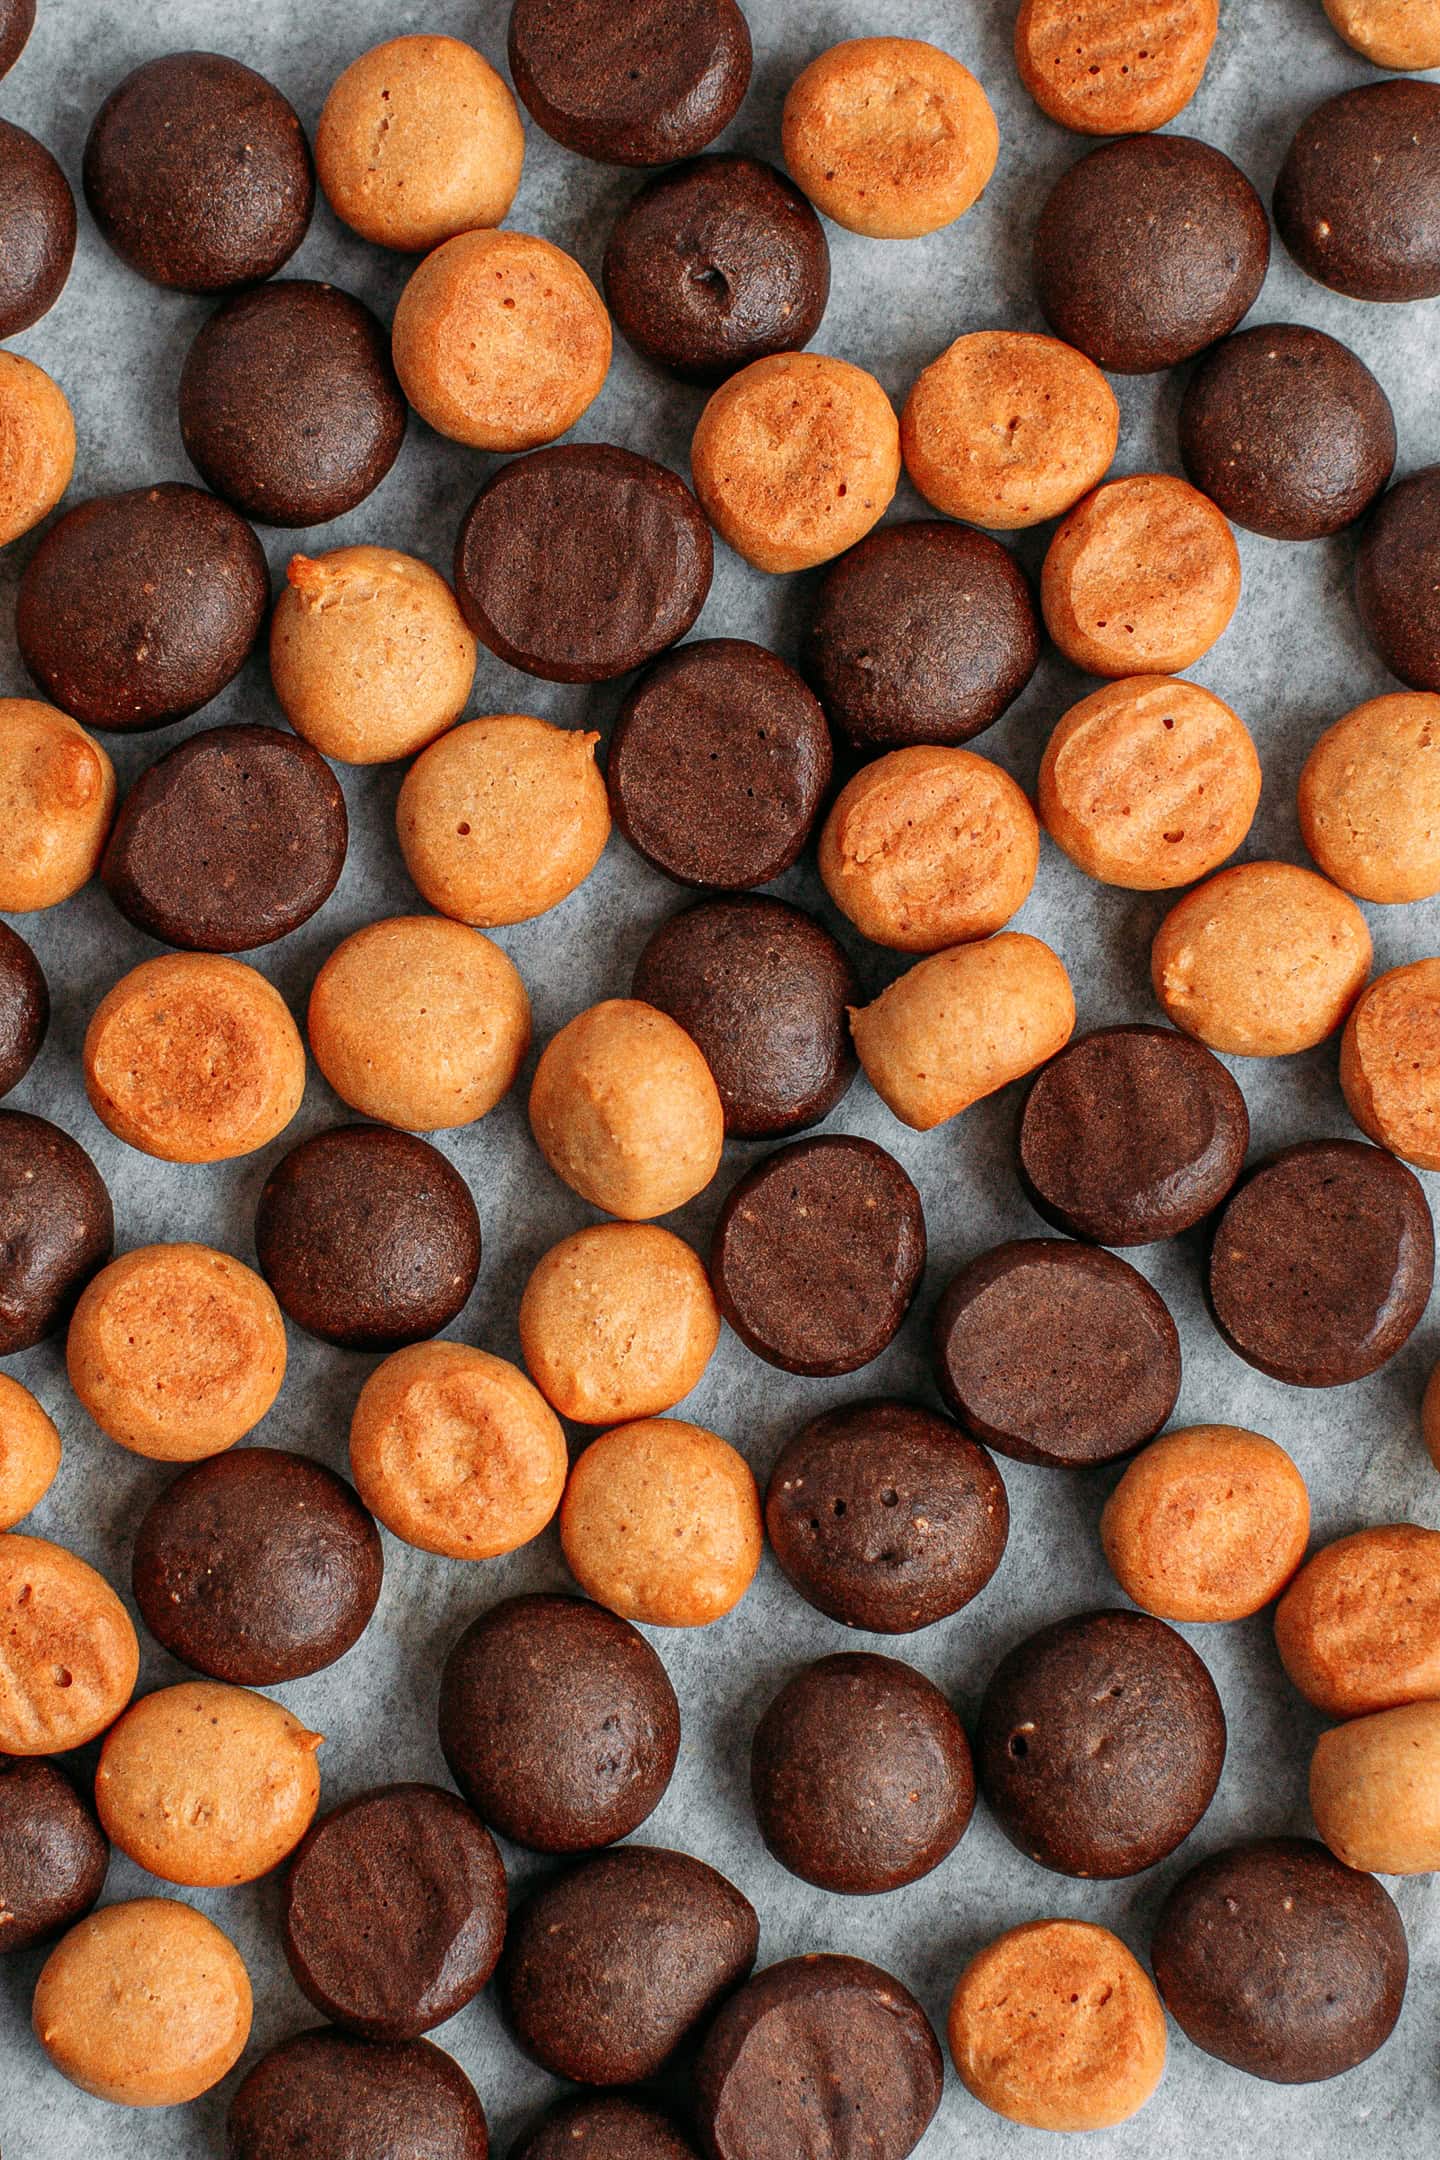
Keep an eye on the cereal during the final minutes of baking—it can go from perfectly crispy to over-baked quickly. The peanut cereal should be golden brown.
🥛 What to Serve Them With
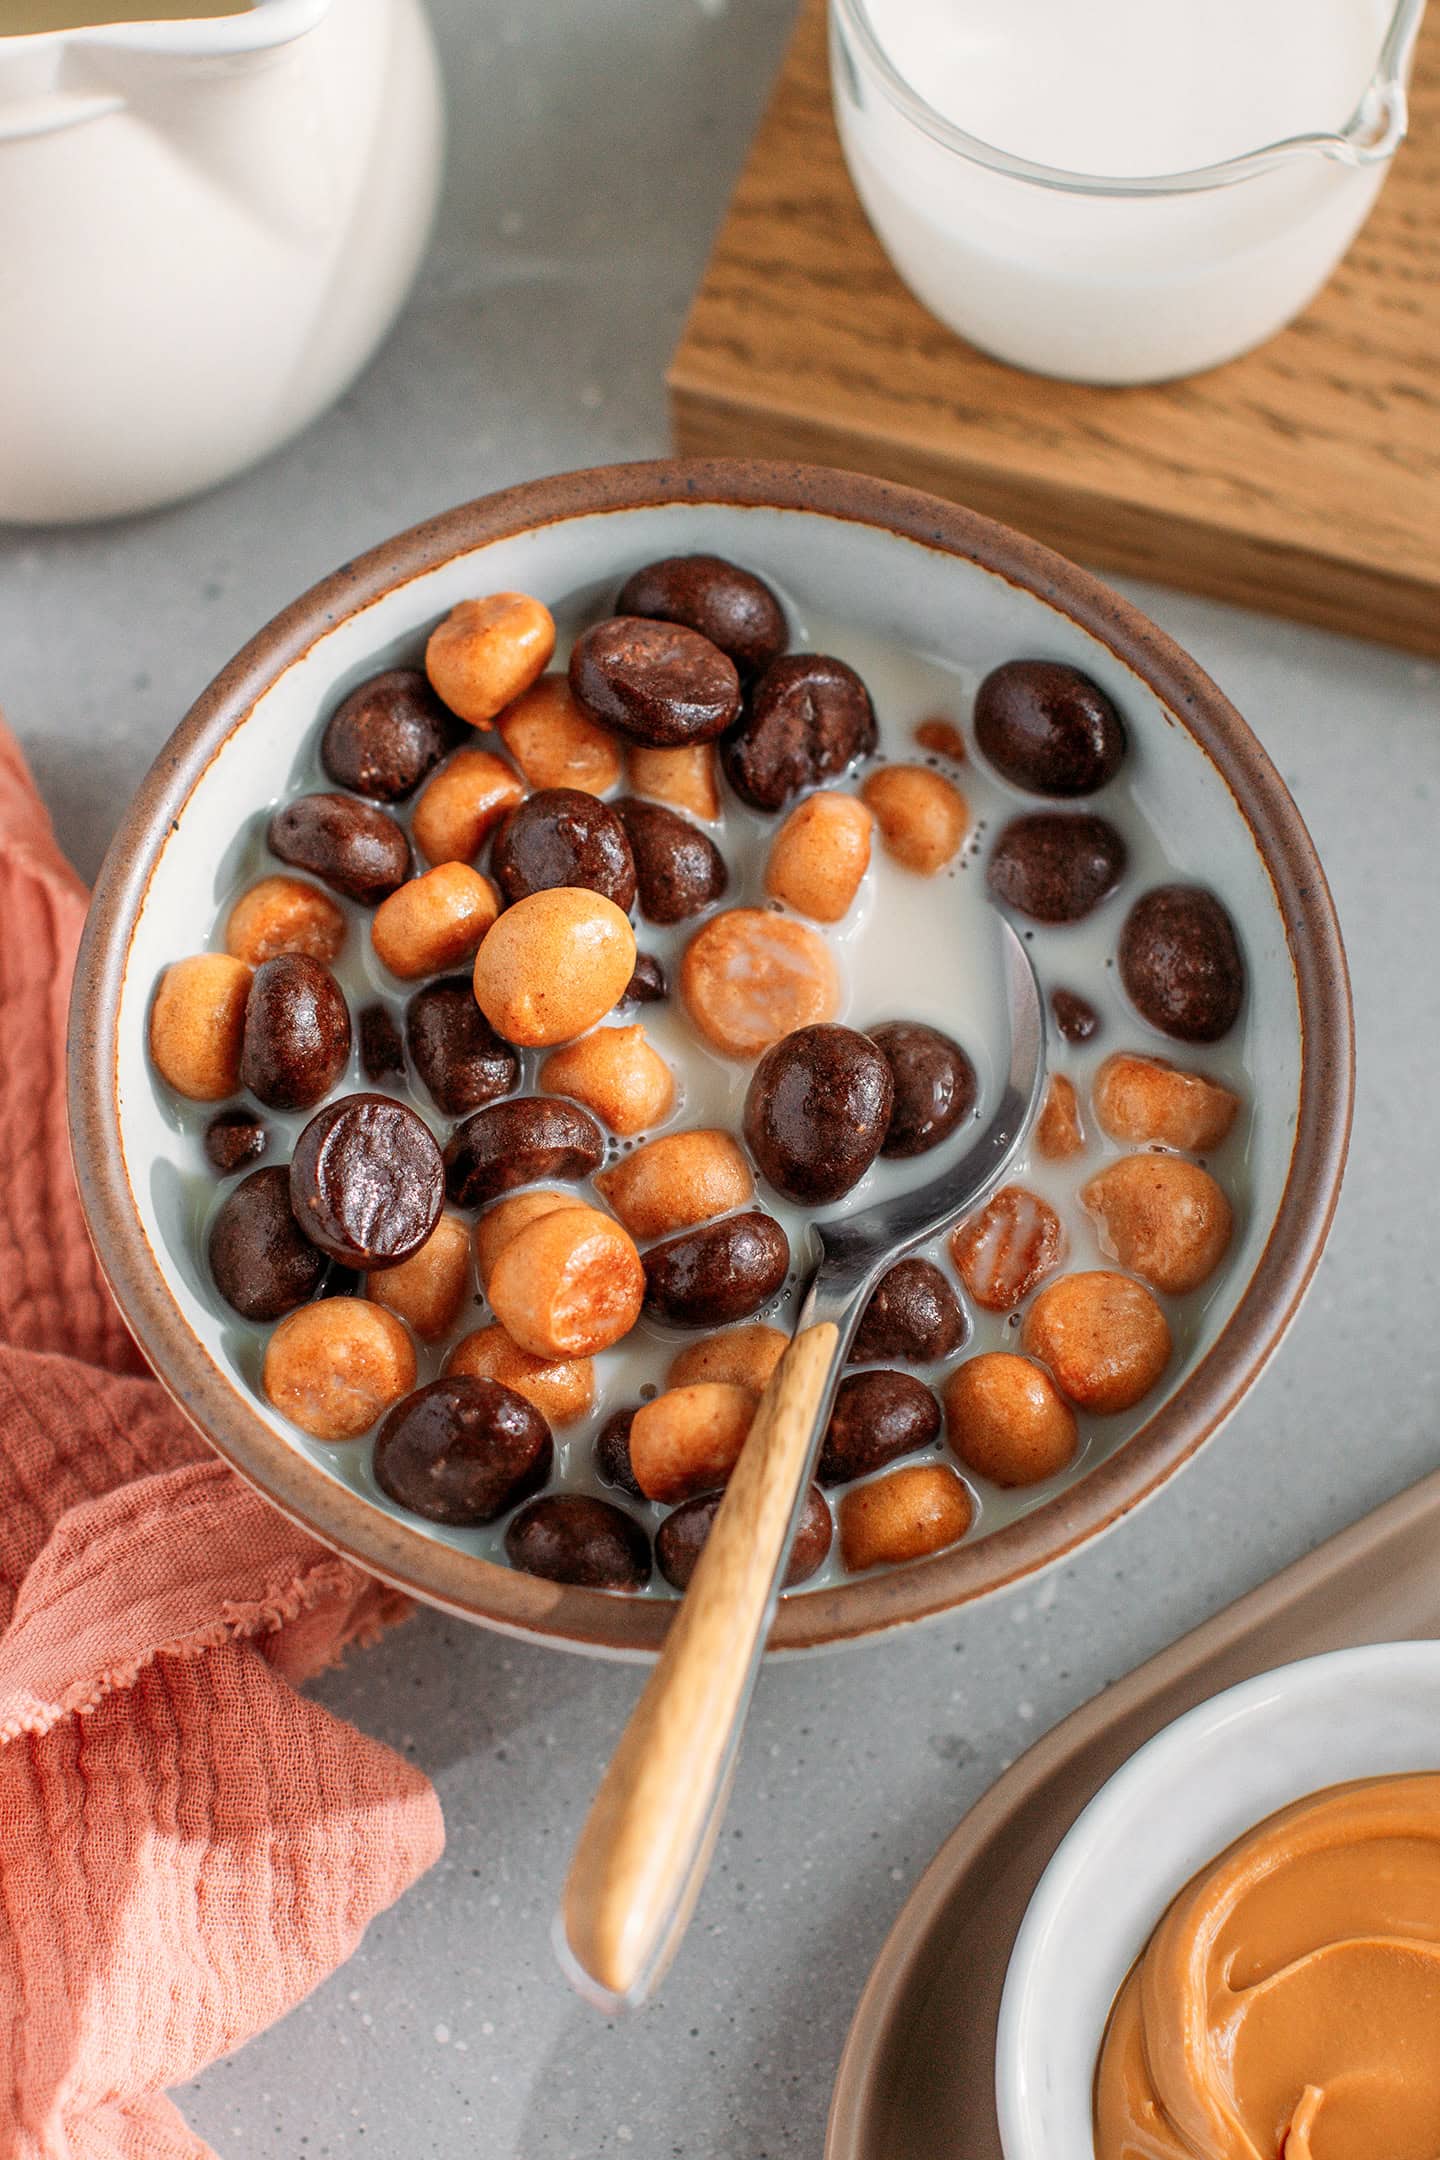
Just like most cereals, you can serve these with cold or warm milk—hazelnut milk or even better: peanut milk! They also go well with vegan yogurt, or you can use them as a topping for vanilla ice cream.
They’ll stay crunchy in cold milk for up to 6 minutes. After that, they’ll start to get soft—but that’s plenty of time to enjoy your bowl!
🫙 Storing
This cereal stays crunchy for up to 1 month if stored in an airtight container at room temperature. Perfect for making a big batch and enjoying it all month long!
💬 Frequently Asked Questions
Can I make this without a piping bag?
The batter is too sticky to shape by hand, but you can use a piece of parchment paper folded and rolled into a cone shape to create a makeshift piping bag.
Why are my cereals not crunchy?
Your cereals were either too big or not baked long enough. Try baking for another 2-3 minutes next time, or until the peanut cereal is golden brown.
Can I add mix-ins like chocolate chips?
You can add extra ingredients after baking, but I wouldn’t recommend mixing them into the batter—otherwise, it’ll be difficult to pipe.
Can I make these gluten-free?
I haven’t tested it yet, but I believe a 1:1 gluten-free flour blend should work. You may need to adjust the liquid slightly.
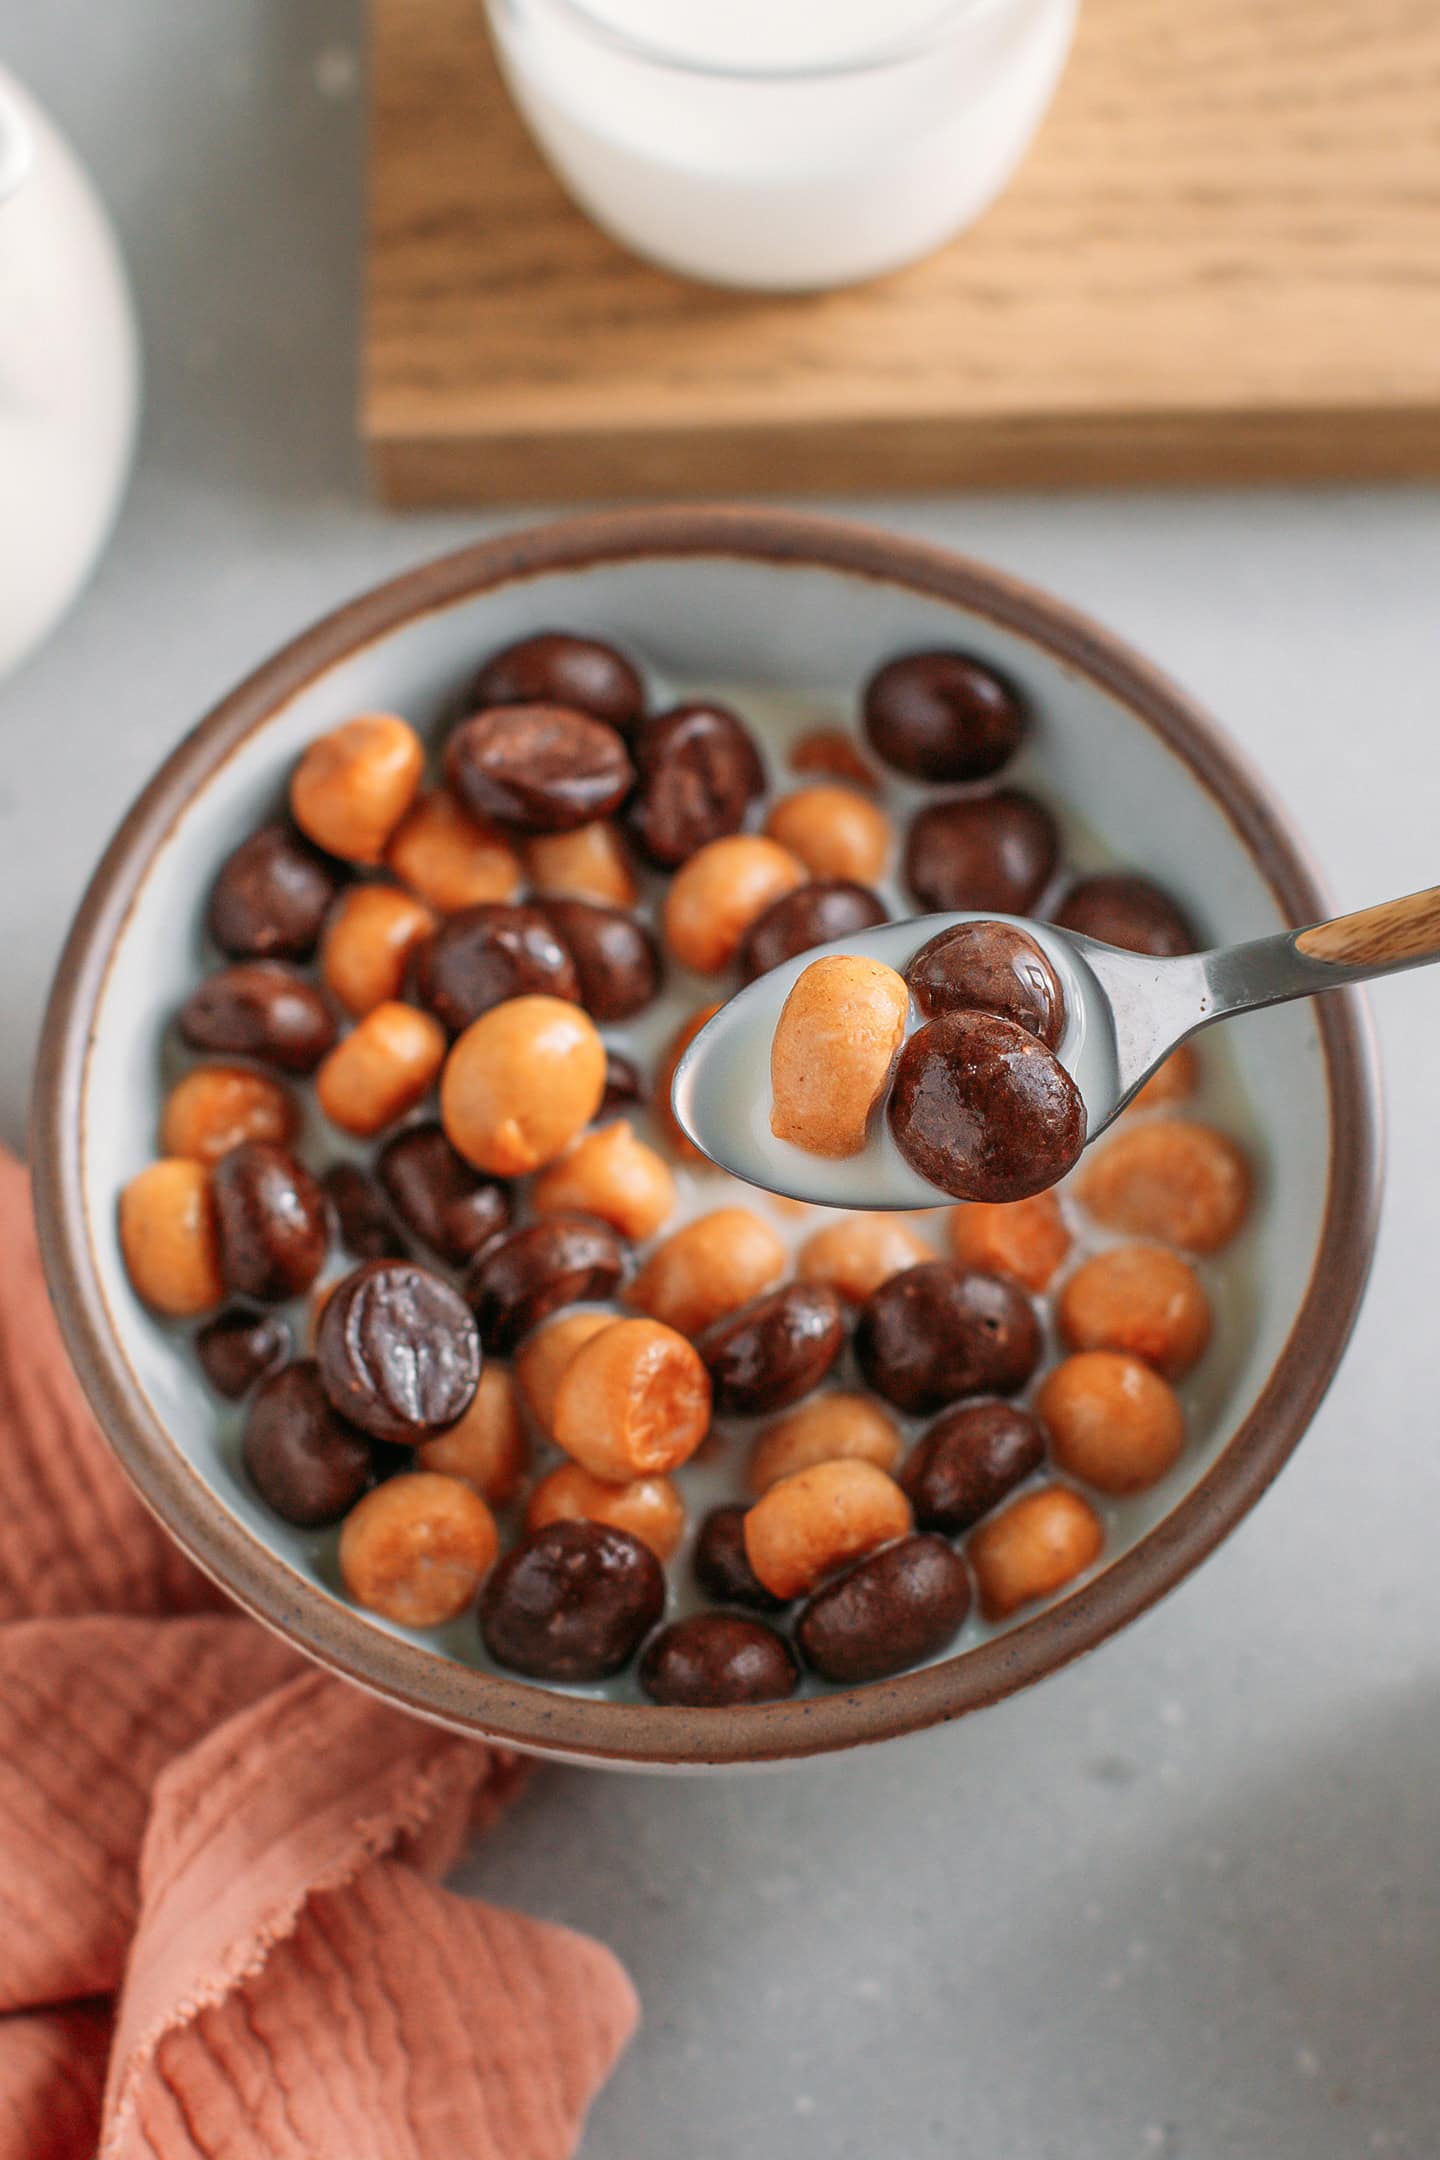
These cereals are not too sweet and absolutely delicious with a bowl of fresh nut milk! They’re extra crunchy, super chocolatey, and packed with peanut flavor—a breakfast you’ll look forward to every morning!
Homemade Chocolate Peanut Butter Cereal
Ingredients
- 1 cup all-purpose flour (125g)
- 1/3 cup granulated sugar (65g)
- 1/2 tsp baking powder
- 1/4 tsp baking soda
- 1/4 tsp salt
- 1/4 cup water (60ml)
- 1 tbsp neutral oil (canola or sunflower)
- 1/2 tsp vanilla extract
For the Chocolate Cereal
- 1 tbsp unsweetened cocoa powder (Dutch-processed or natural)
For the Peanut Butter Cereal
- 2 tbsp natural peanut butter (30g)
- 2 tbsp powdered peanut butter (like PB2) (12g)
Instructions
- Preheat: Preheat your oven to 350°F (175°C). Line two baking sheets with parchment paper.
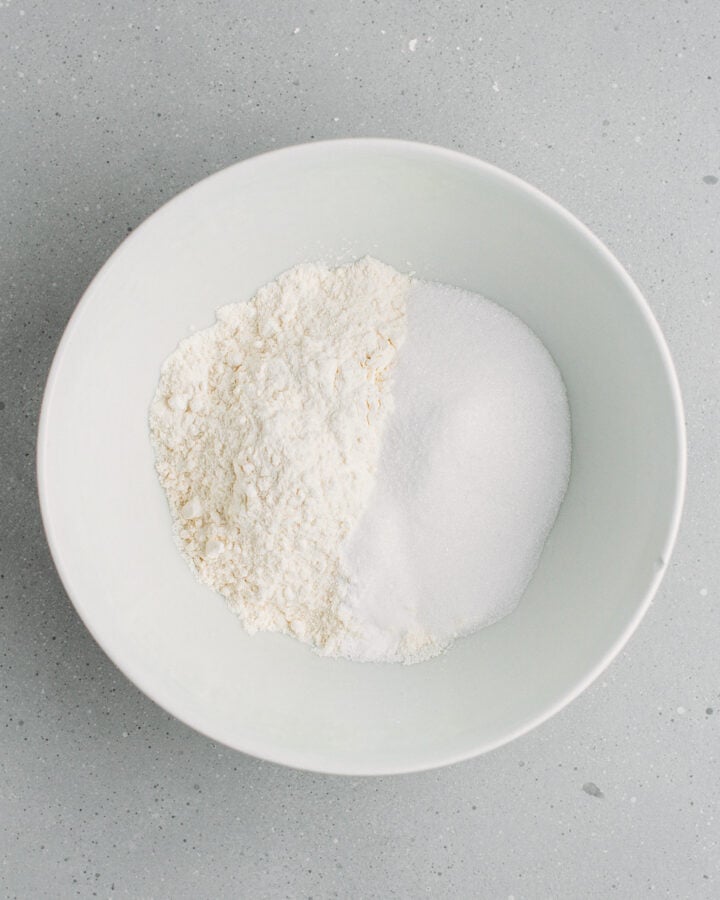
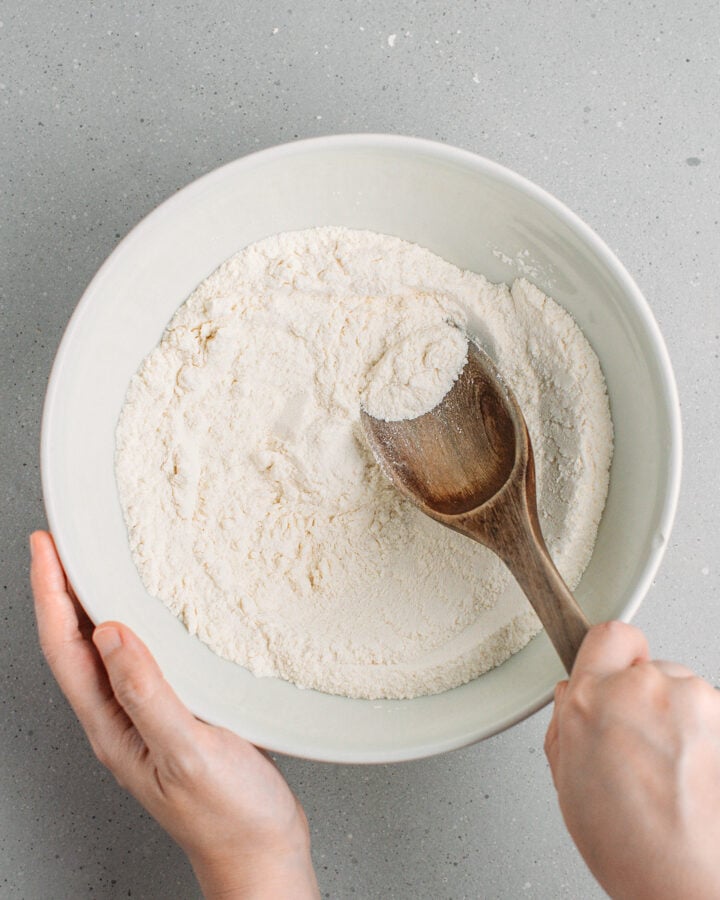
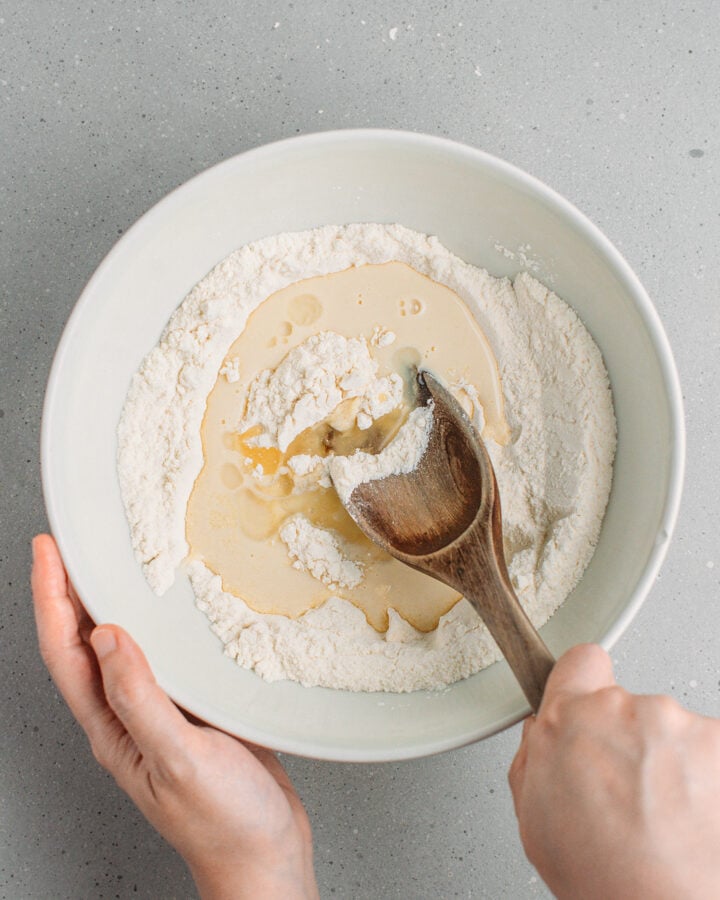
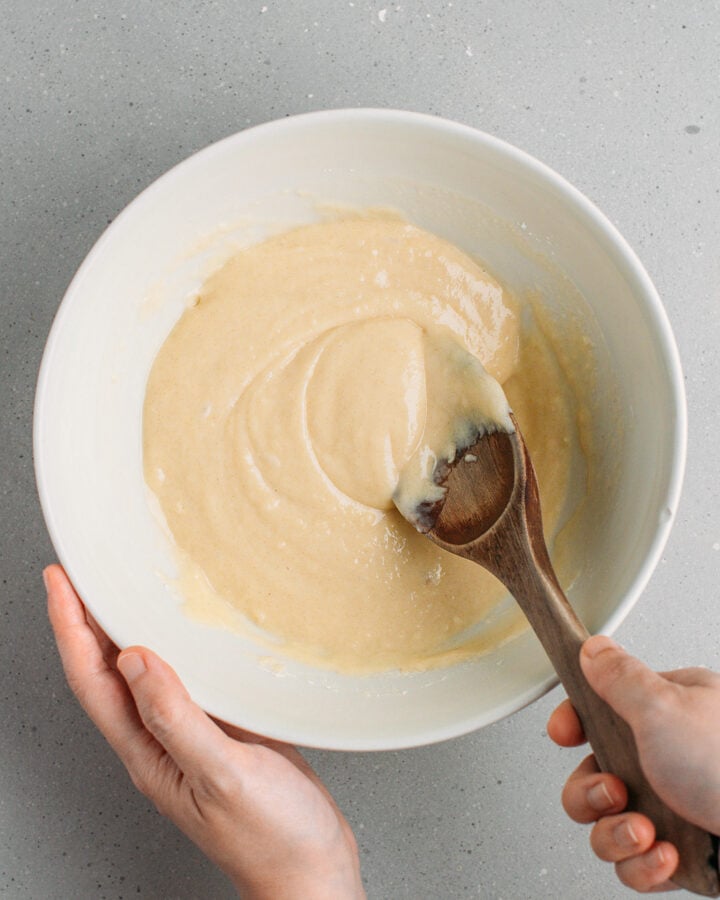
- Make base batter: In a medium bowl, whisk together the flour, sugar, baking powder, baking soda, and salt. Add the water, oil, and vanilla extract. Mix until a soft dough forms.
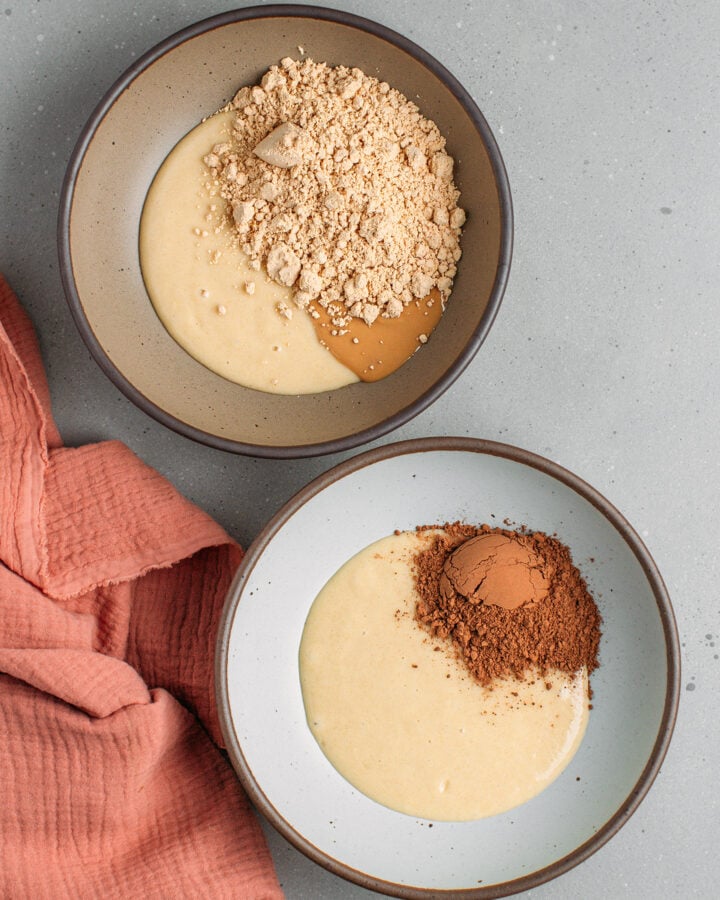
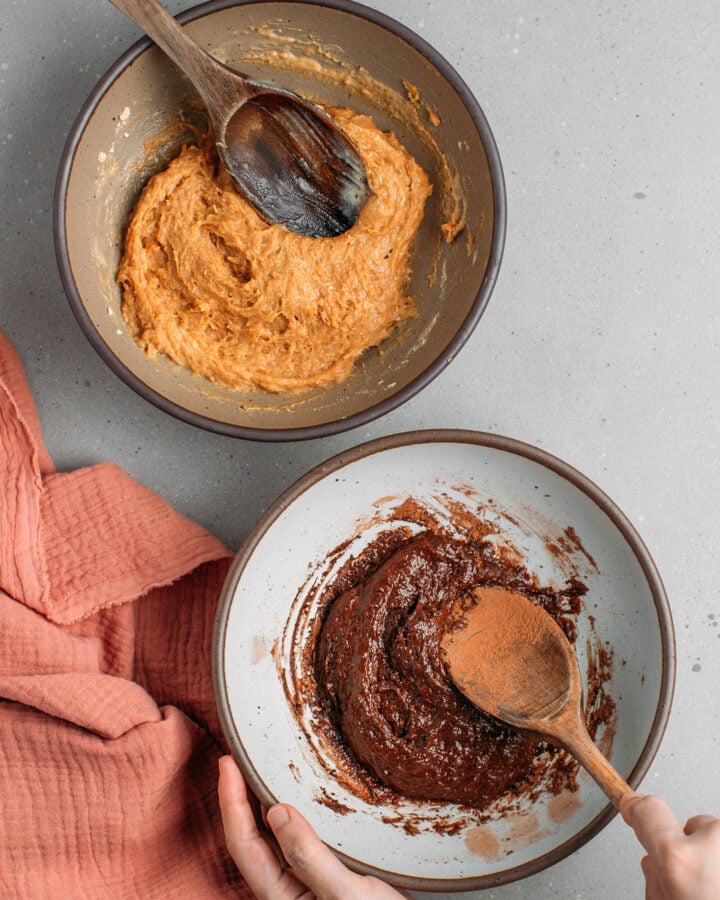
- Divide and flavor: Divide the dough into two equal portions. For the chocolate cereal, add the cocoa powder to one portion and knead until well incorporated. For the peanut butter cereal, add the peanut butter and powdered peanut butter to the other portion and knead until smooth.
- Fill piping bags: Transfer each batter to a piping bag (or use a folded parchment paper cone).
- Pipe: Pipe small rounds of batter onto the prepared baking sheets, about 1/3 inch (1 cm) wide and 1/4 inch (0.6 cm) tall. Leave a little space between each.
- Bake: Bake for 12-15 minutes, until the peanut cereal is golden brown and both types are crisp. Keep an eye on them—they can burn quickly.
- Cool: Let the cereal cool completely on the baking sheet. It will crisp up further as it cools.
Notes
- Piping bag alternative: Use a folded parchment paper cone if you don’t have a piping bag.
- Doubling: Double the recipe for a larger batch. You’ll need to bake in batches.
- Storage: Store in an airtight container at room temperature for up to 1 month.