Relive your favorite childhood snack with these homemade Oreo cookies! They’re wonderfully crispy, deeply chocolatey, and filled with a sweet, creamy vanilla center. Simple to prepare with just a few ingredients, they’re even better than the store-bought version!
There’s something undeniably nostalgic about Oreo cookies. That perfect combination of dark, crispy chocolate wafers and sweet, creamy filling has been a beloved treat for generations. Now, you can recreate that magic at home with this simple vegan recipe.
What I love most about making these from scratch is the control over the ingredients. No artificial flavors or preservatives—just pure, delicious chocolate and a silky vanilla cream. Plus, there’s a special satisfaction that comes from biting into a cookie you’ve made with your own hands.

⭐️ Why You Should Try It
- Perfectly crispy texture: These cookies have that satisfying snap you remember from childhood.
- Deep chocolate flavor: Made with black cocoa powder for that authentic dark, rich taste.
- Creamy vanilla filling: Sweet, buttery, and absolutely delicious—just like the original.
- Simple ingredients: No complicated or hard-to-find items.
- Better than store-bought: Fresher, more flavorful, and made with love!
📘 What Are Oreo Cookies
Oreo is an iconic sandwich cookie brand consisting of two crisp chocolate wafers with a sweet vanilla cream filling. First introduced in 1912, it has since become one of the most beloved commercial cookies worldwide. This homemade version captures all that classic appeal while keeping it completely plant-based.

🍫 Ingredient Notes
Here are the simple ingredients you’ll need to make these vegan Oreos:
- All-purpose flour: Forms the base of the crisp chocolate wafers.
- Black cocoa powder: The secret to that signature dark color and authentic Oreo flavor.
- Vegan butter: Adds richness and creates that perfect crispy texture.
- Powdered sugar: Sweetens both the cookies and the filling.
- Cornstarch: Helps create the tender, crisp texture.
- Vanilla extract: Enhances the flavor of both the cookies and the filling.
- Plant-based milk: Binds the dough together.
What is black cocoa powder?
Black cocoa powder is a Dutch-processed cocoa that has been heavily alkalized, giving it an intensely dark color and a very fine, smooth texture. It’s commonly used to create dark desserts and has a milder, less bitter flavor than regular cocoa powder—perfect for achieving that authentic Oreo taste.
🥣 How to Make It
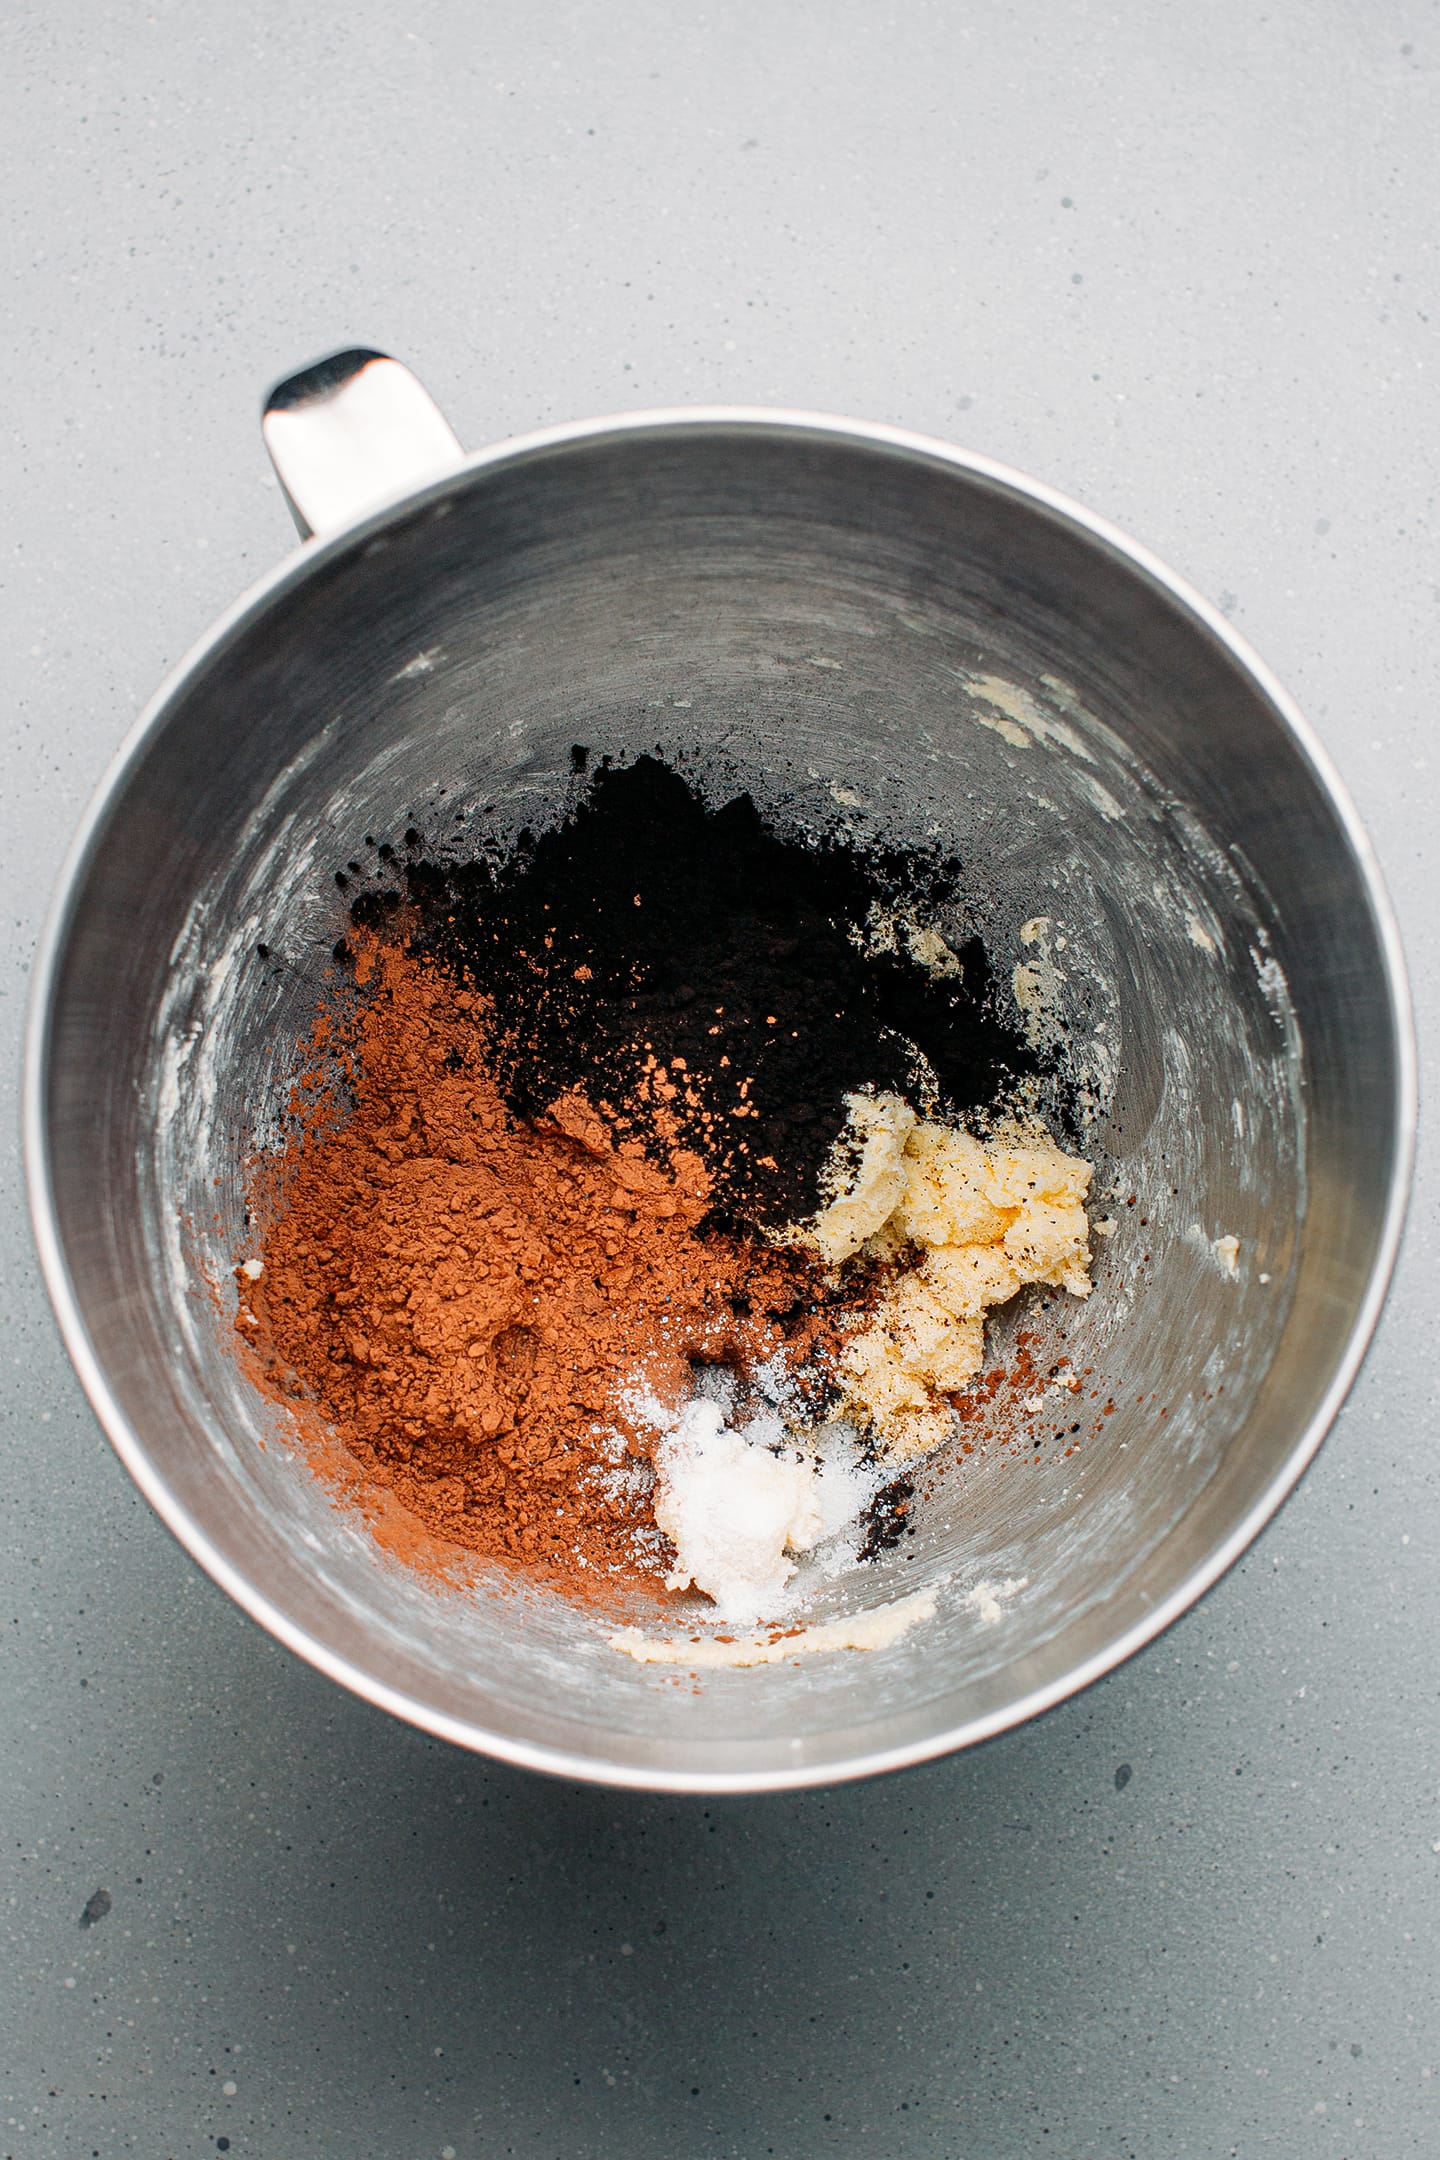
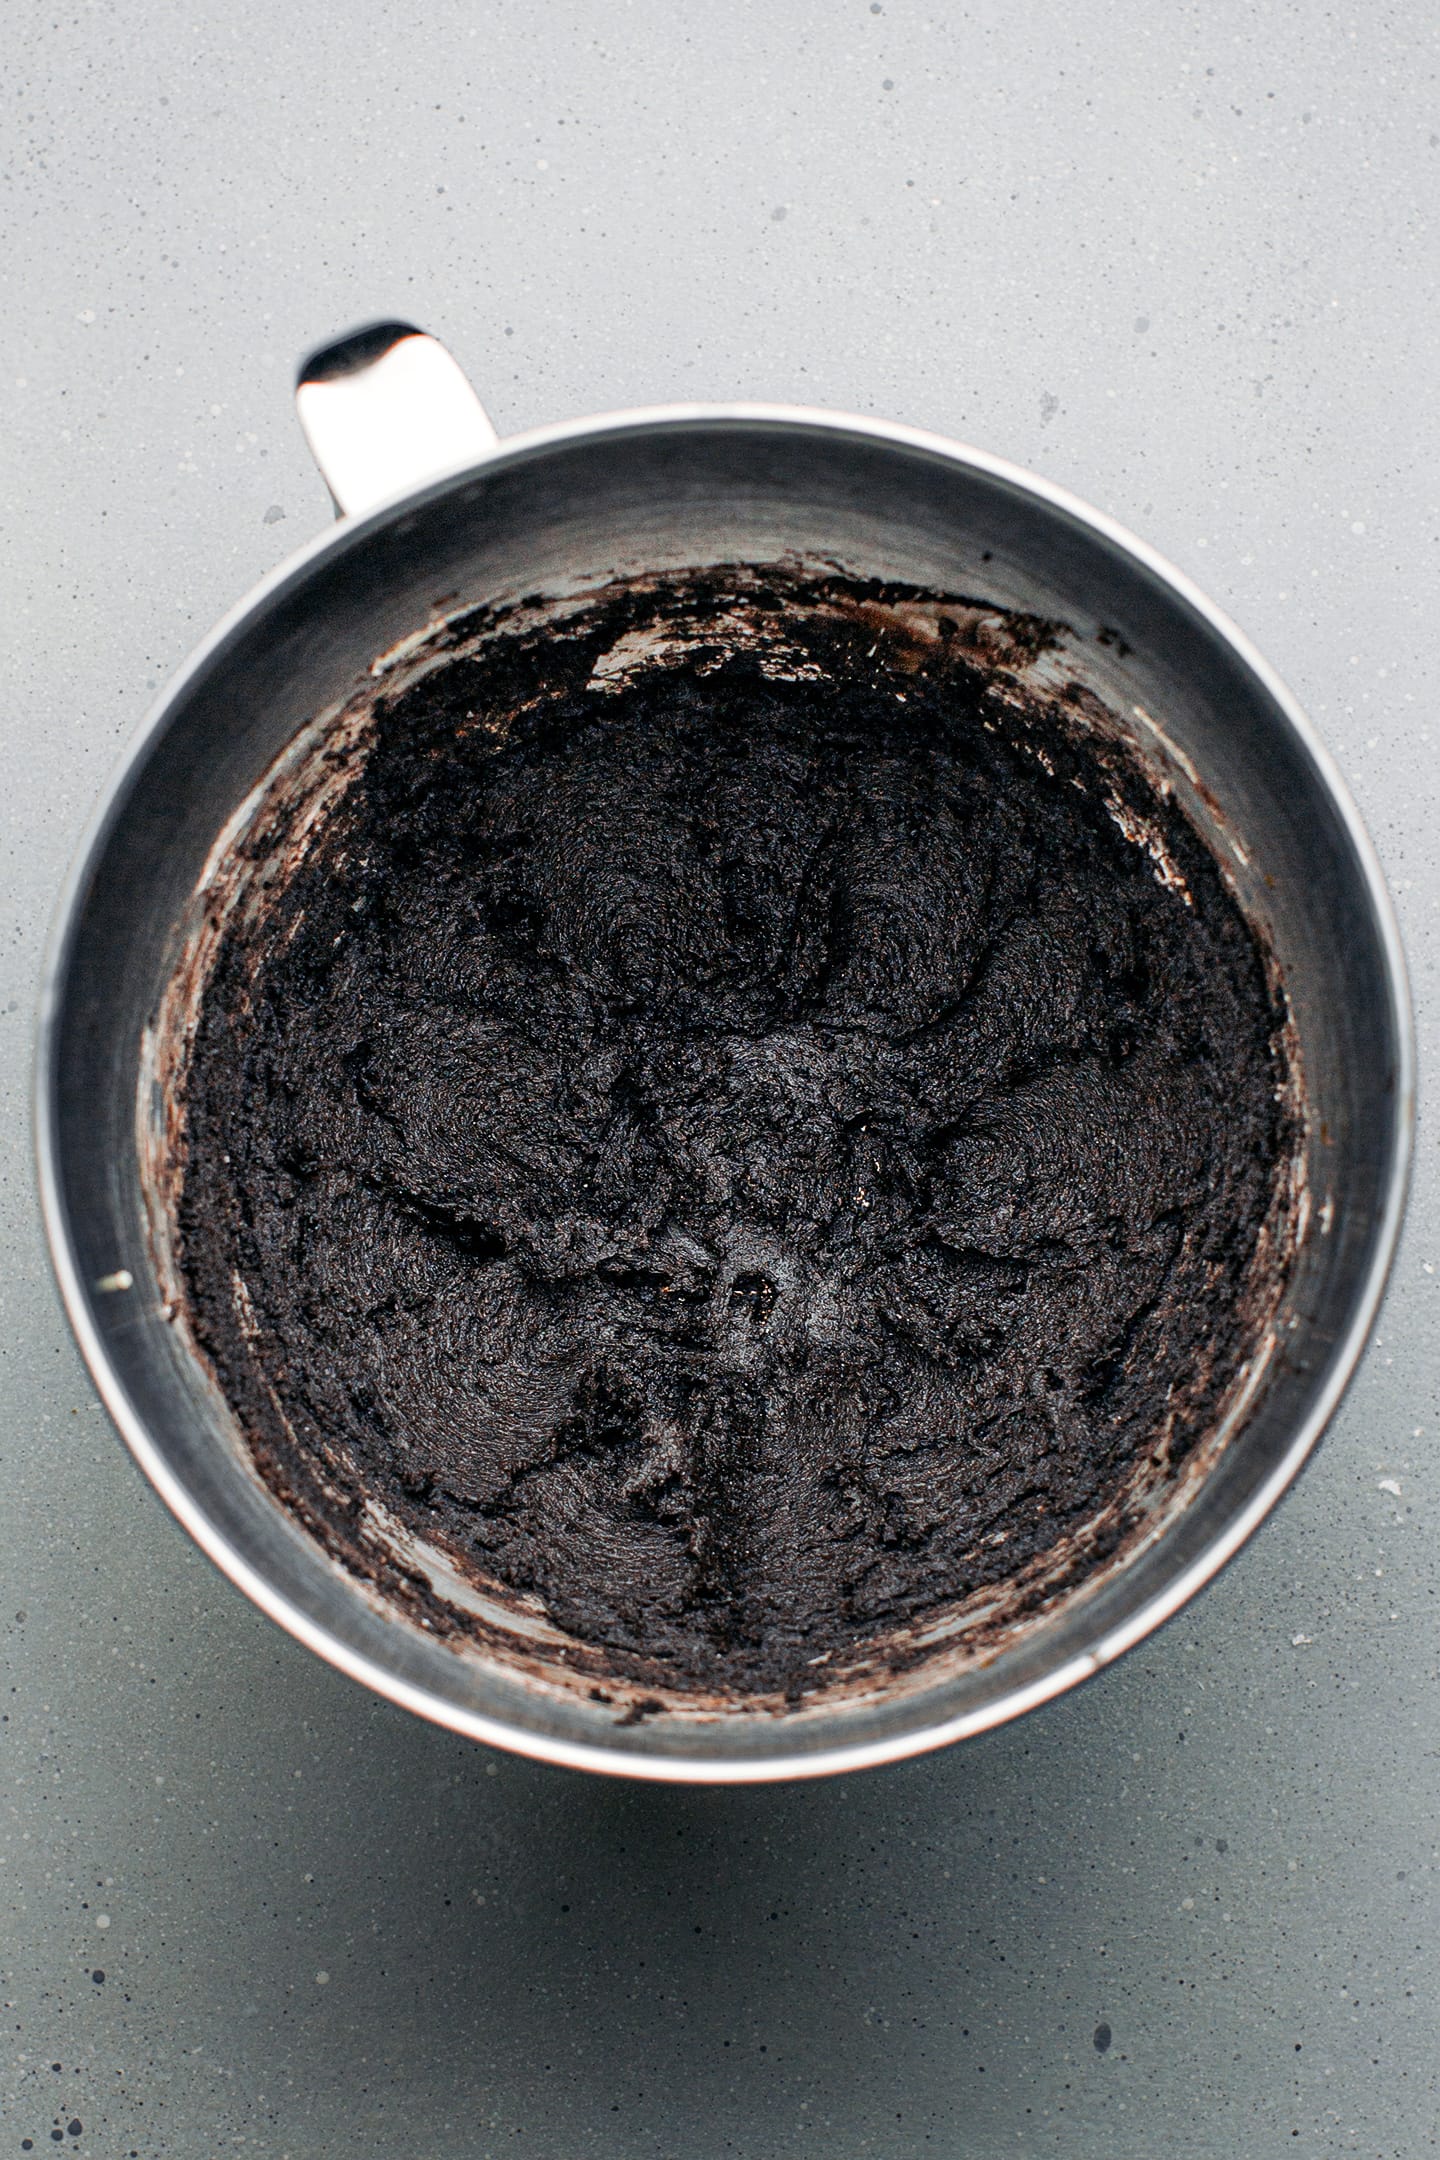
1. Make the dough


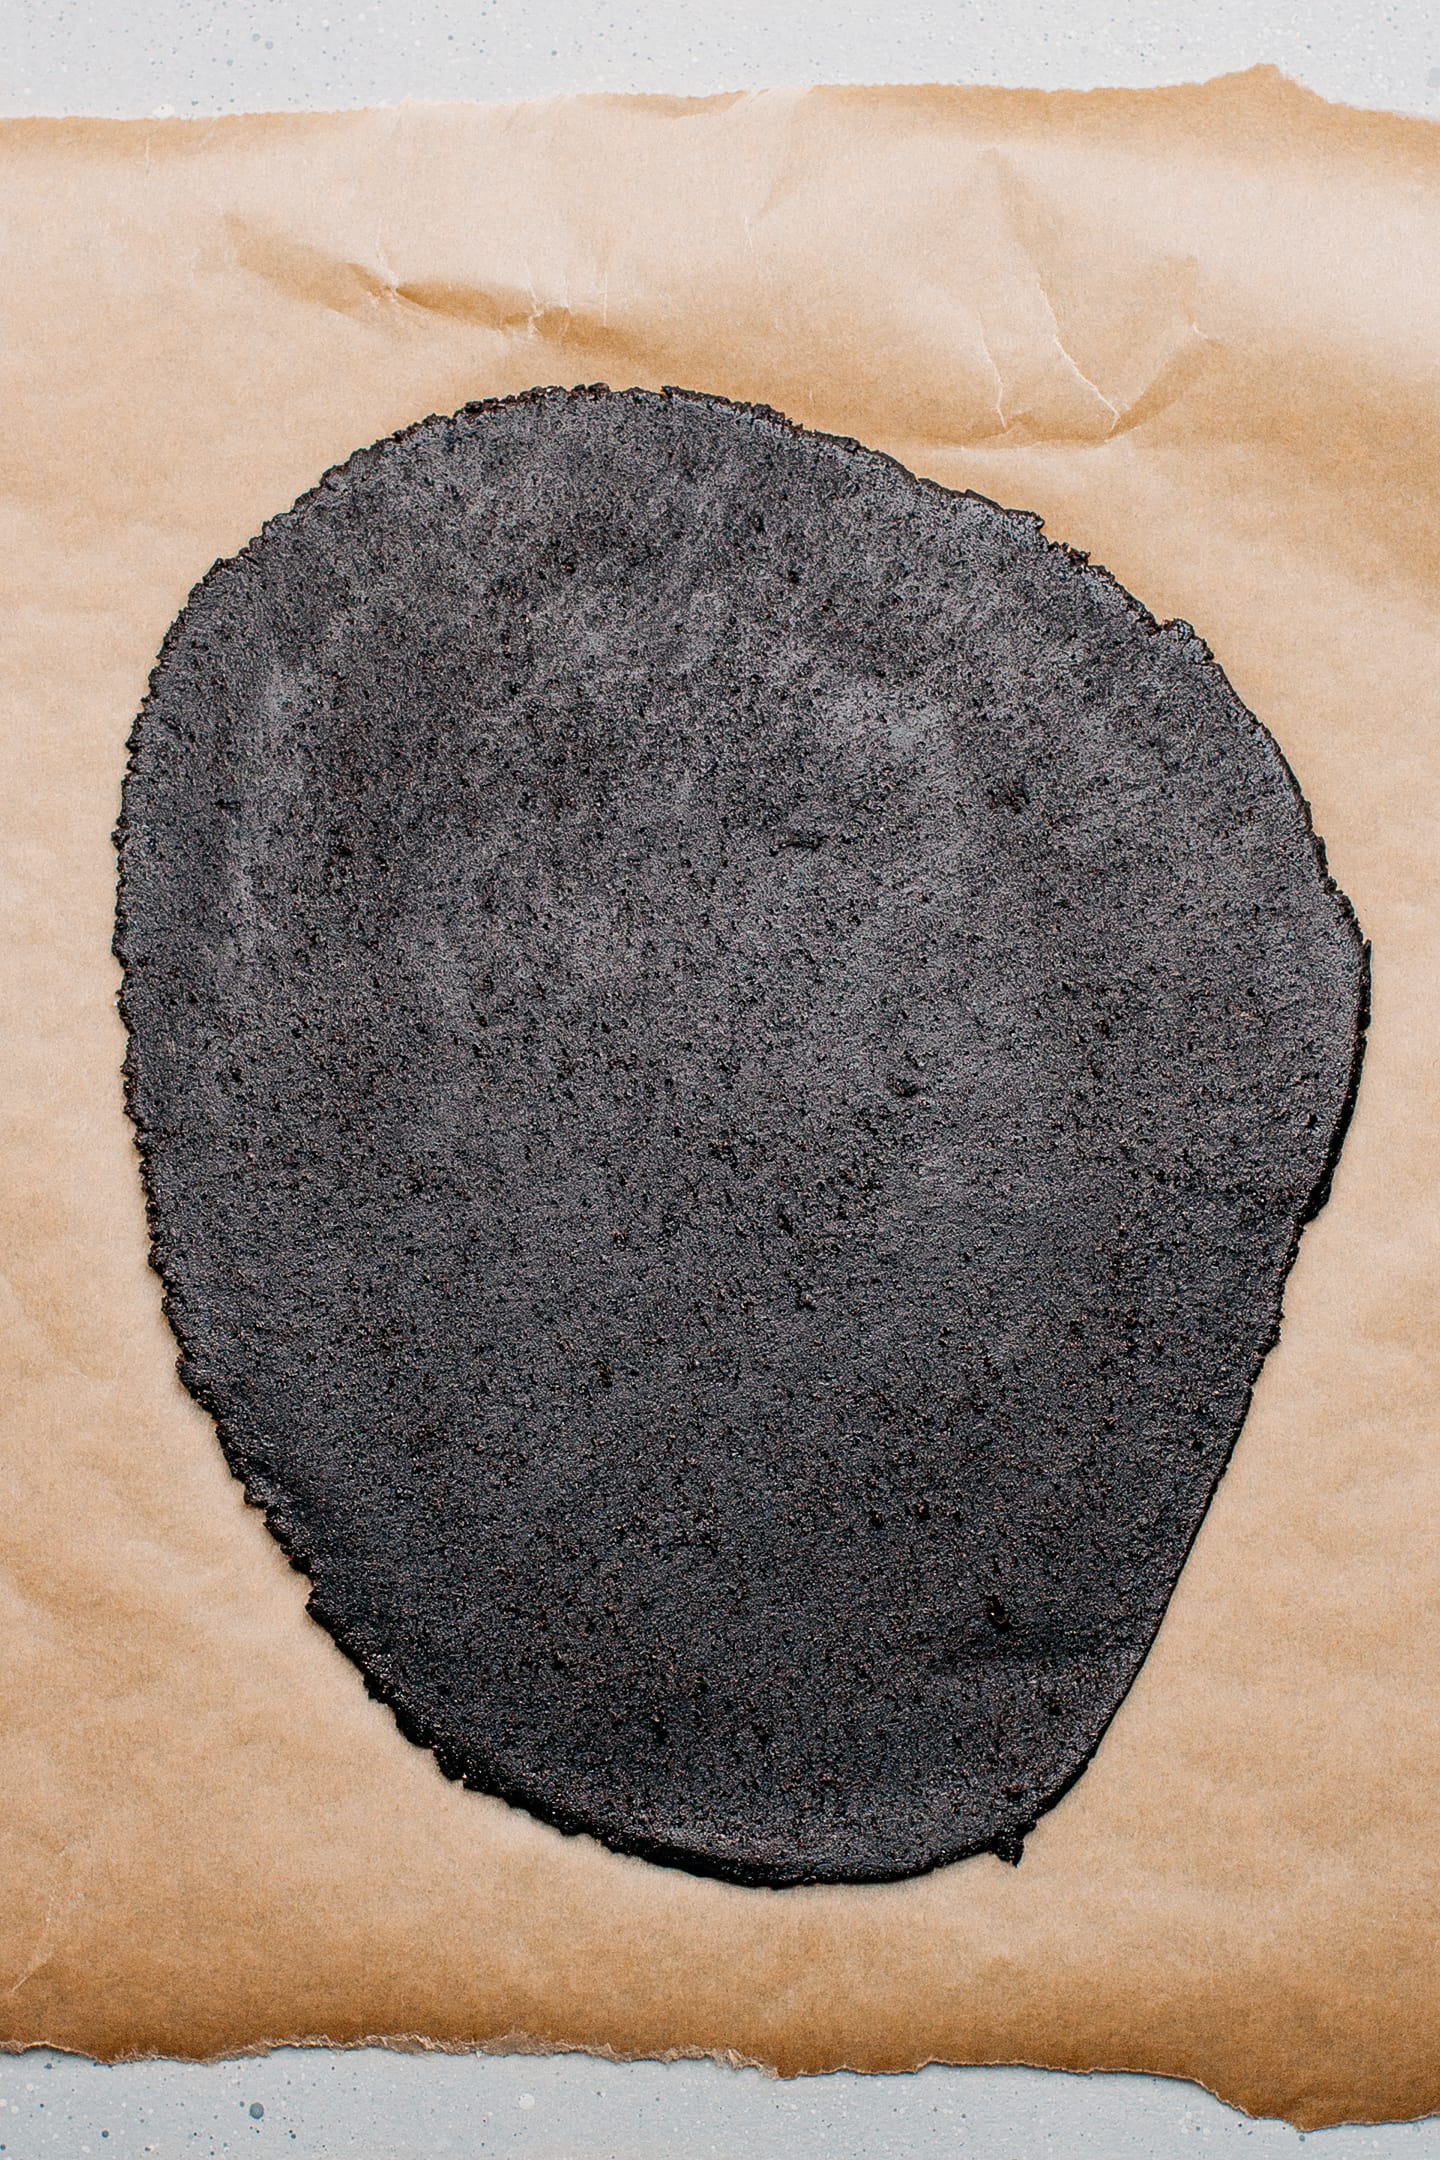
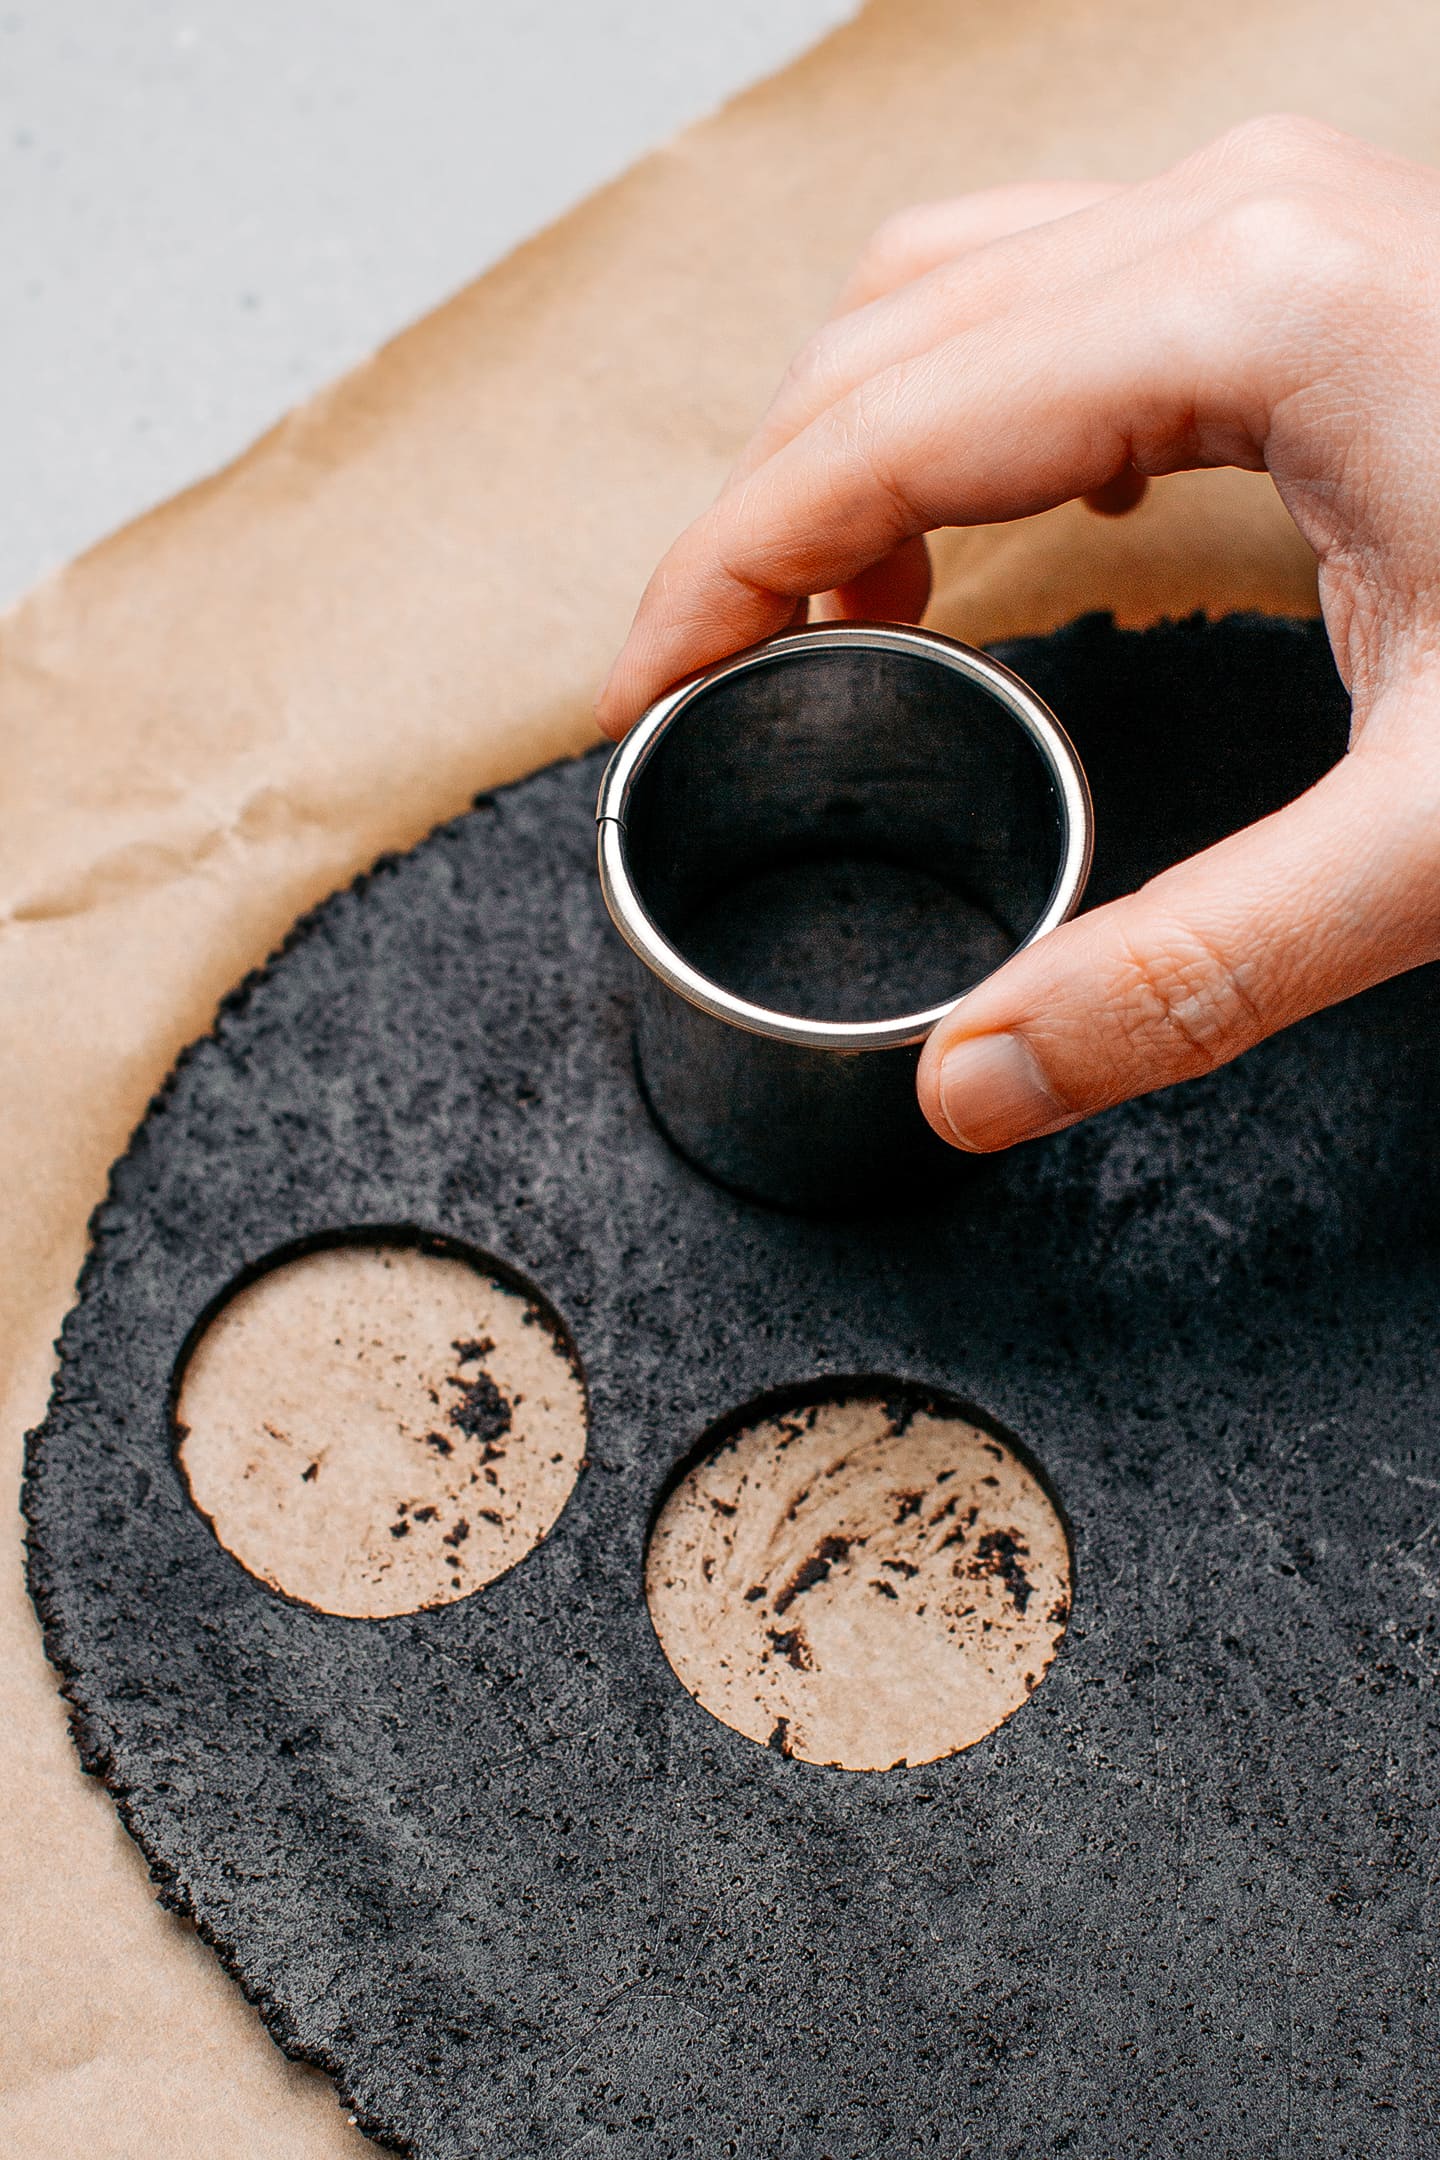
2. Flatten and cut out
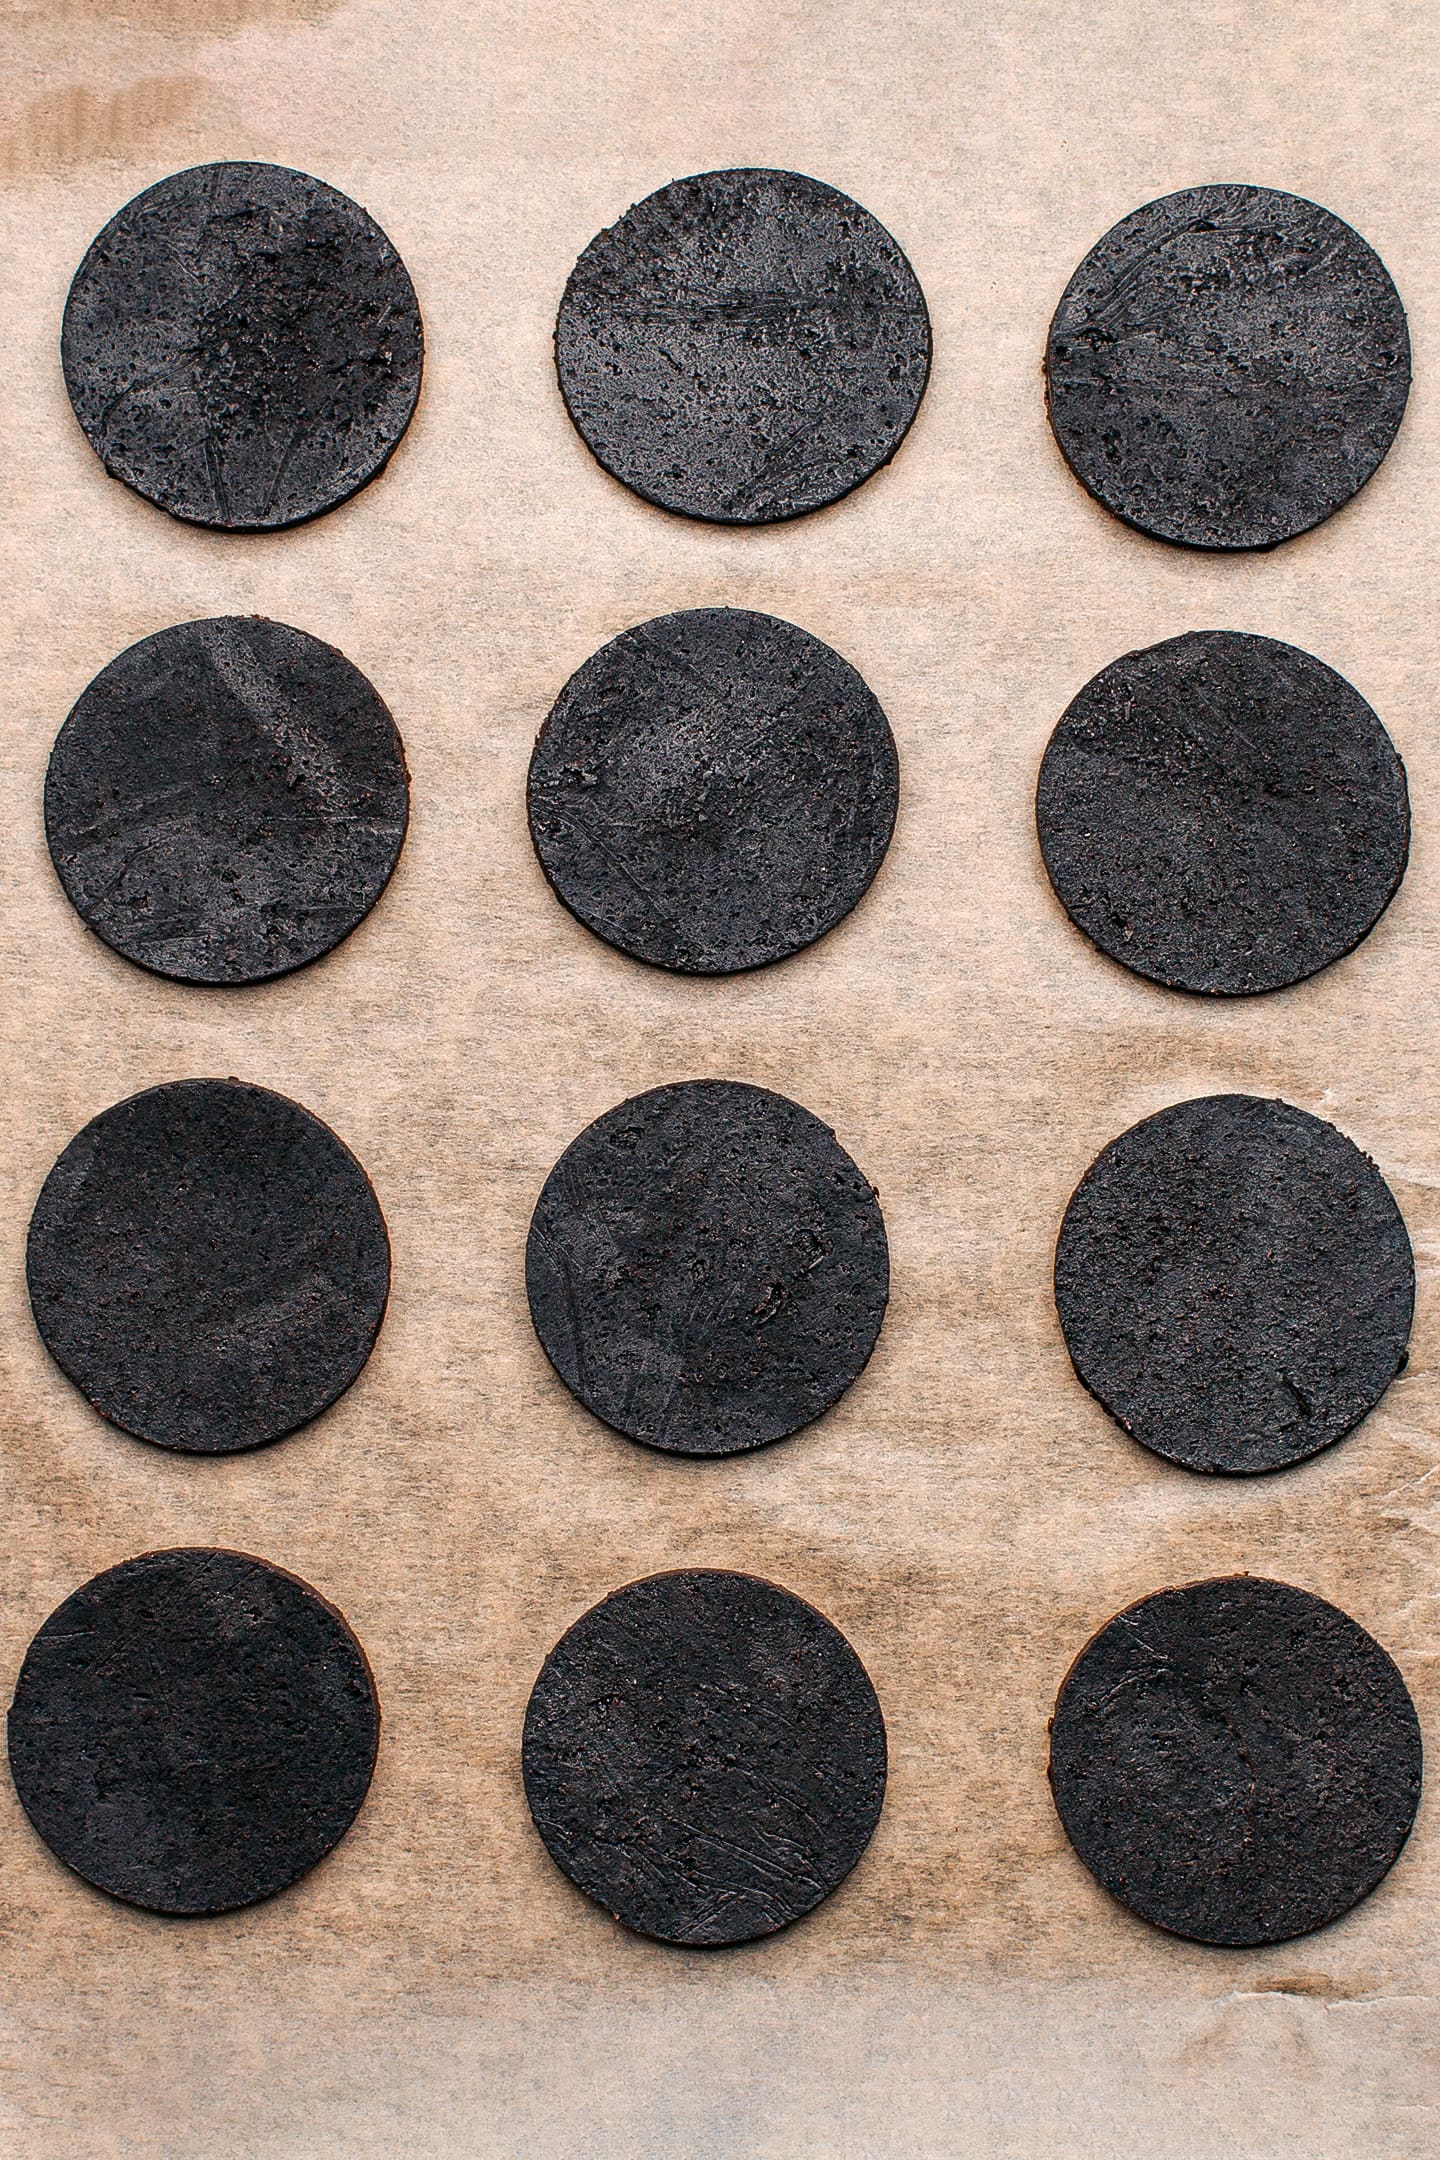
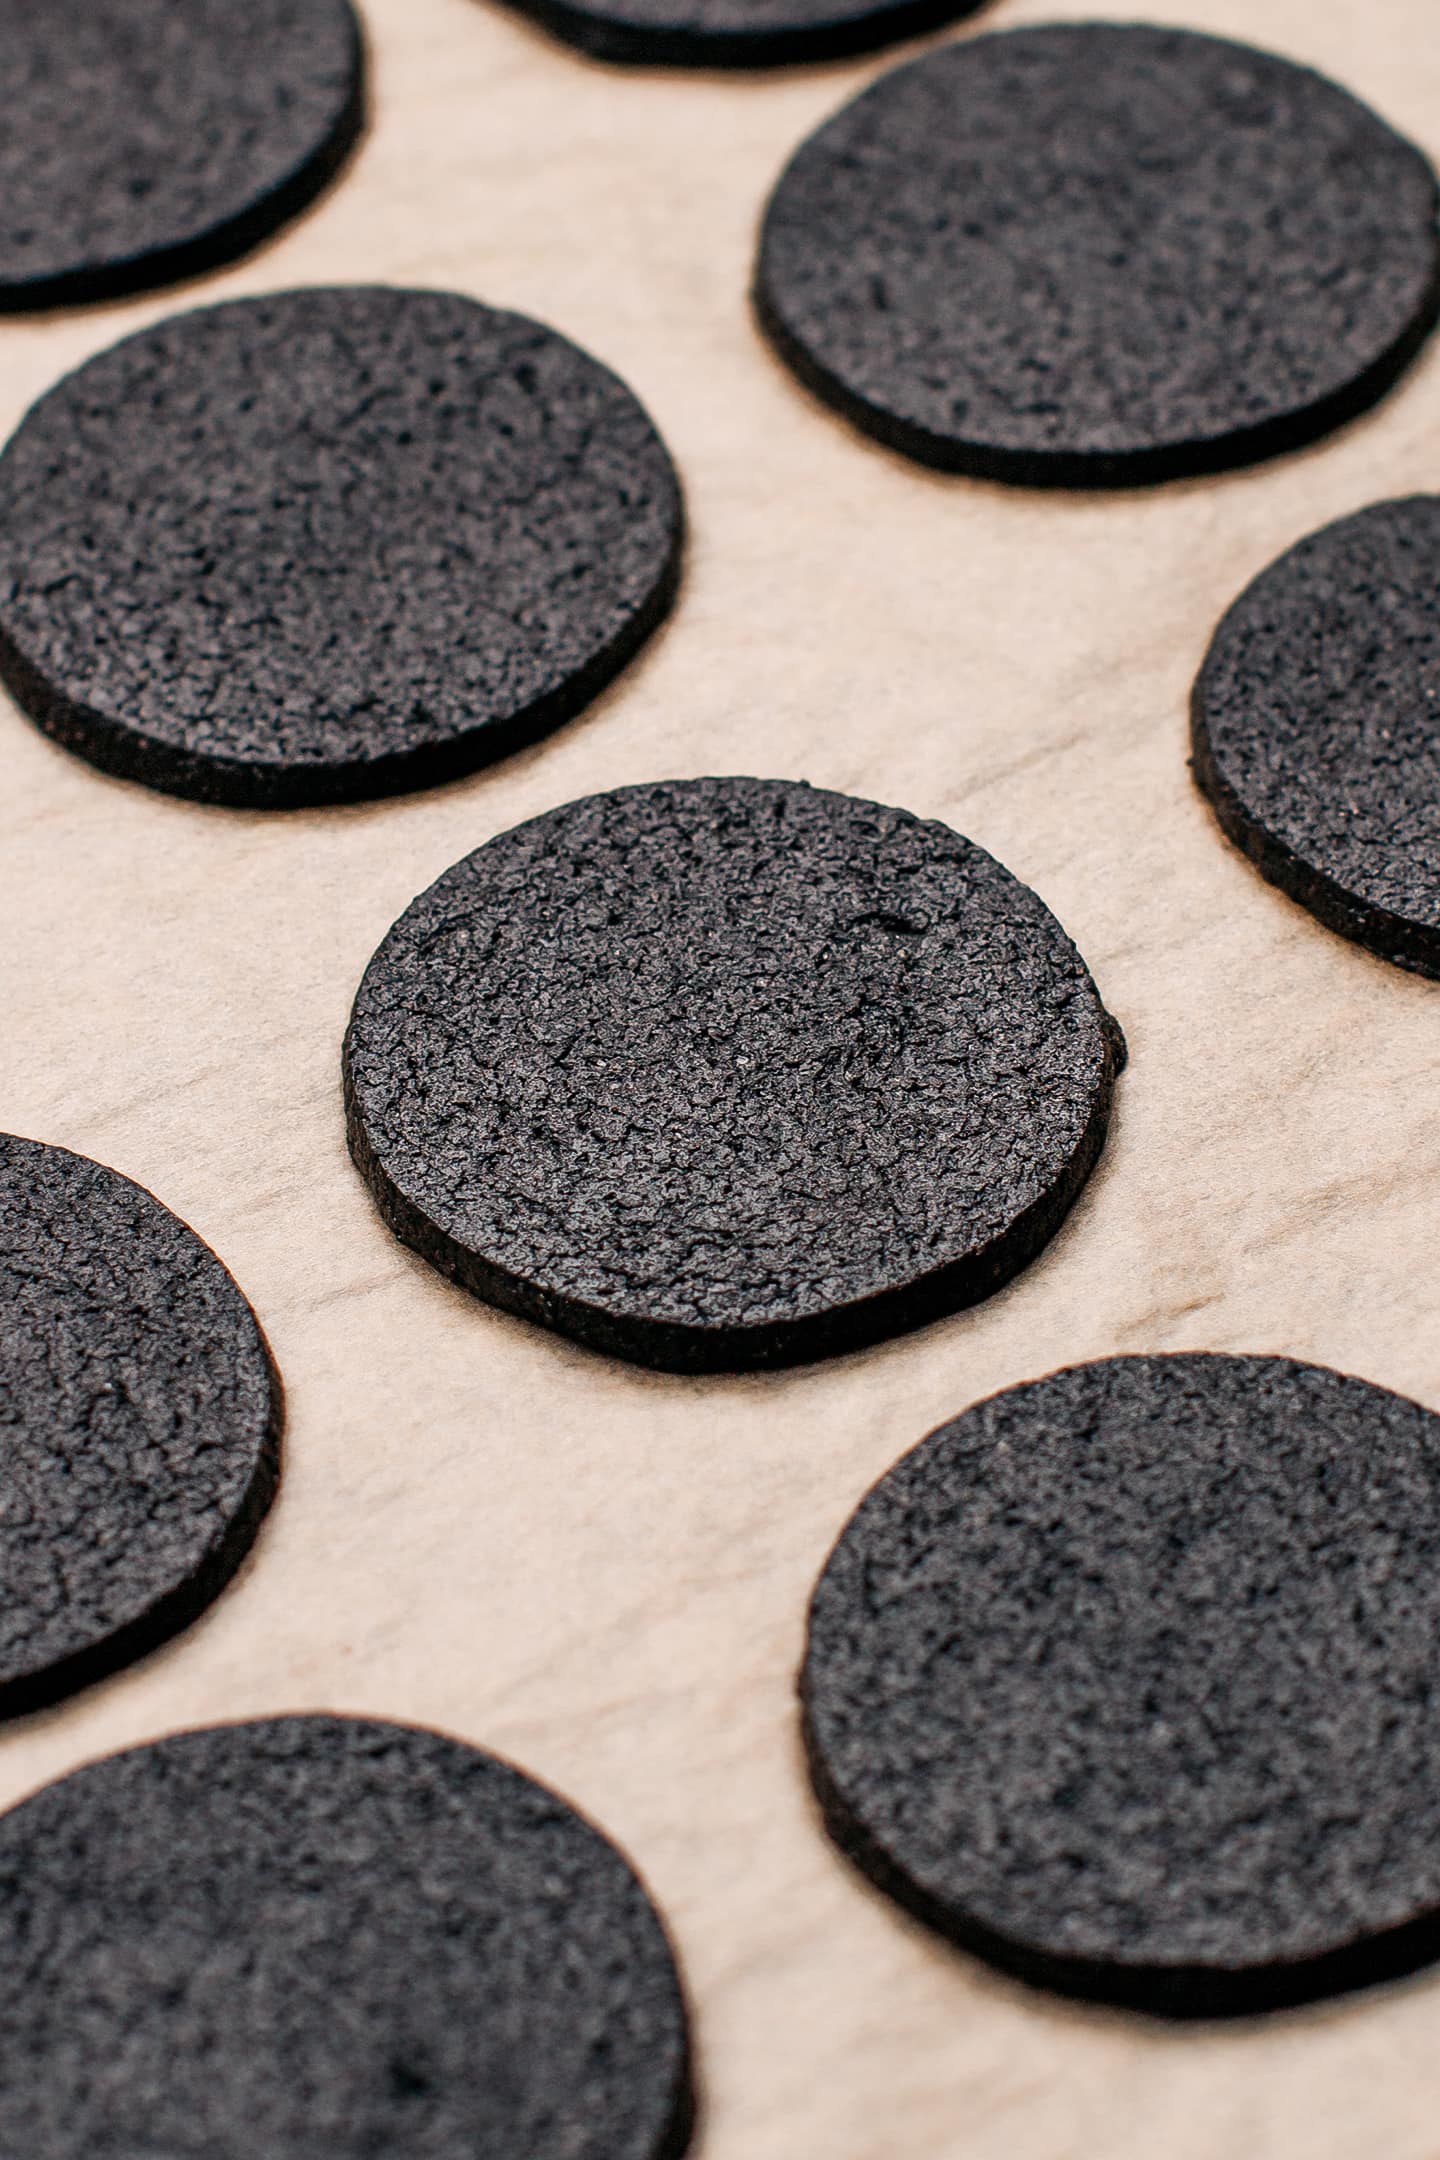
3. Bake until crispy
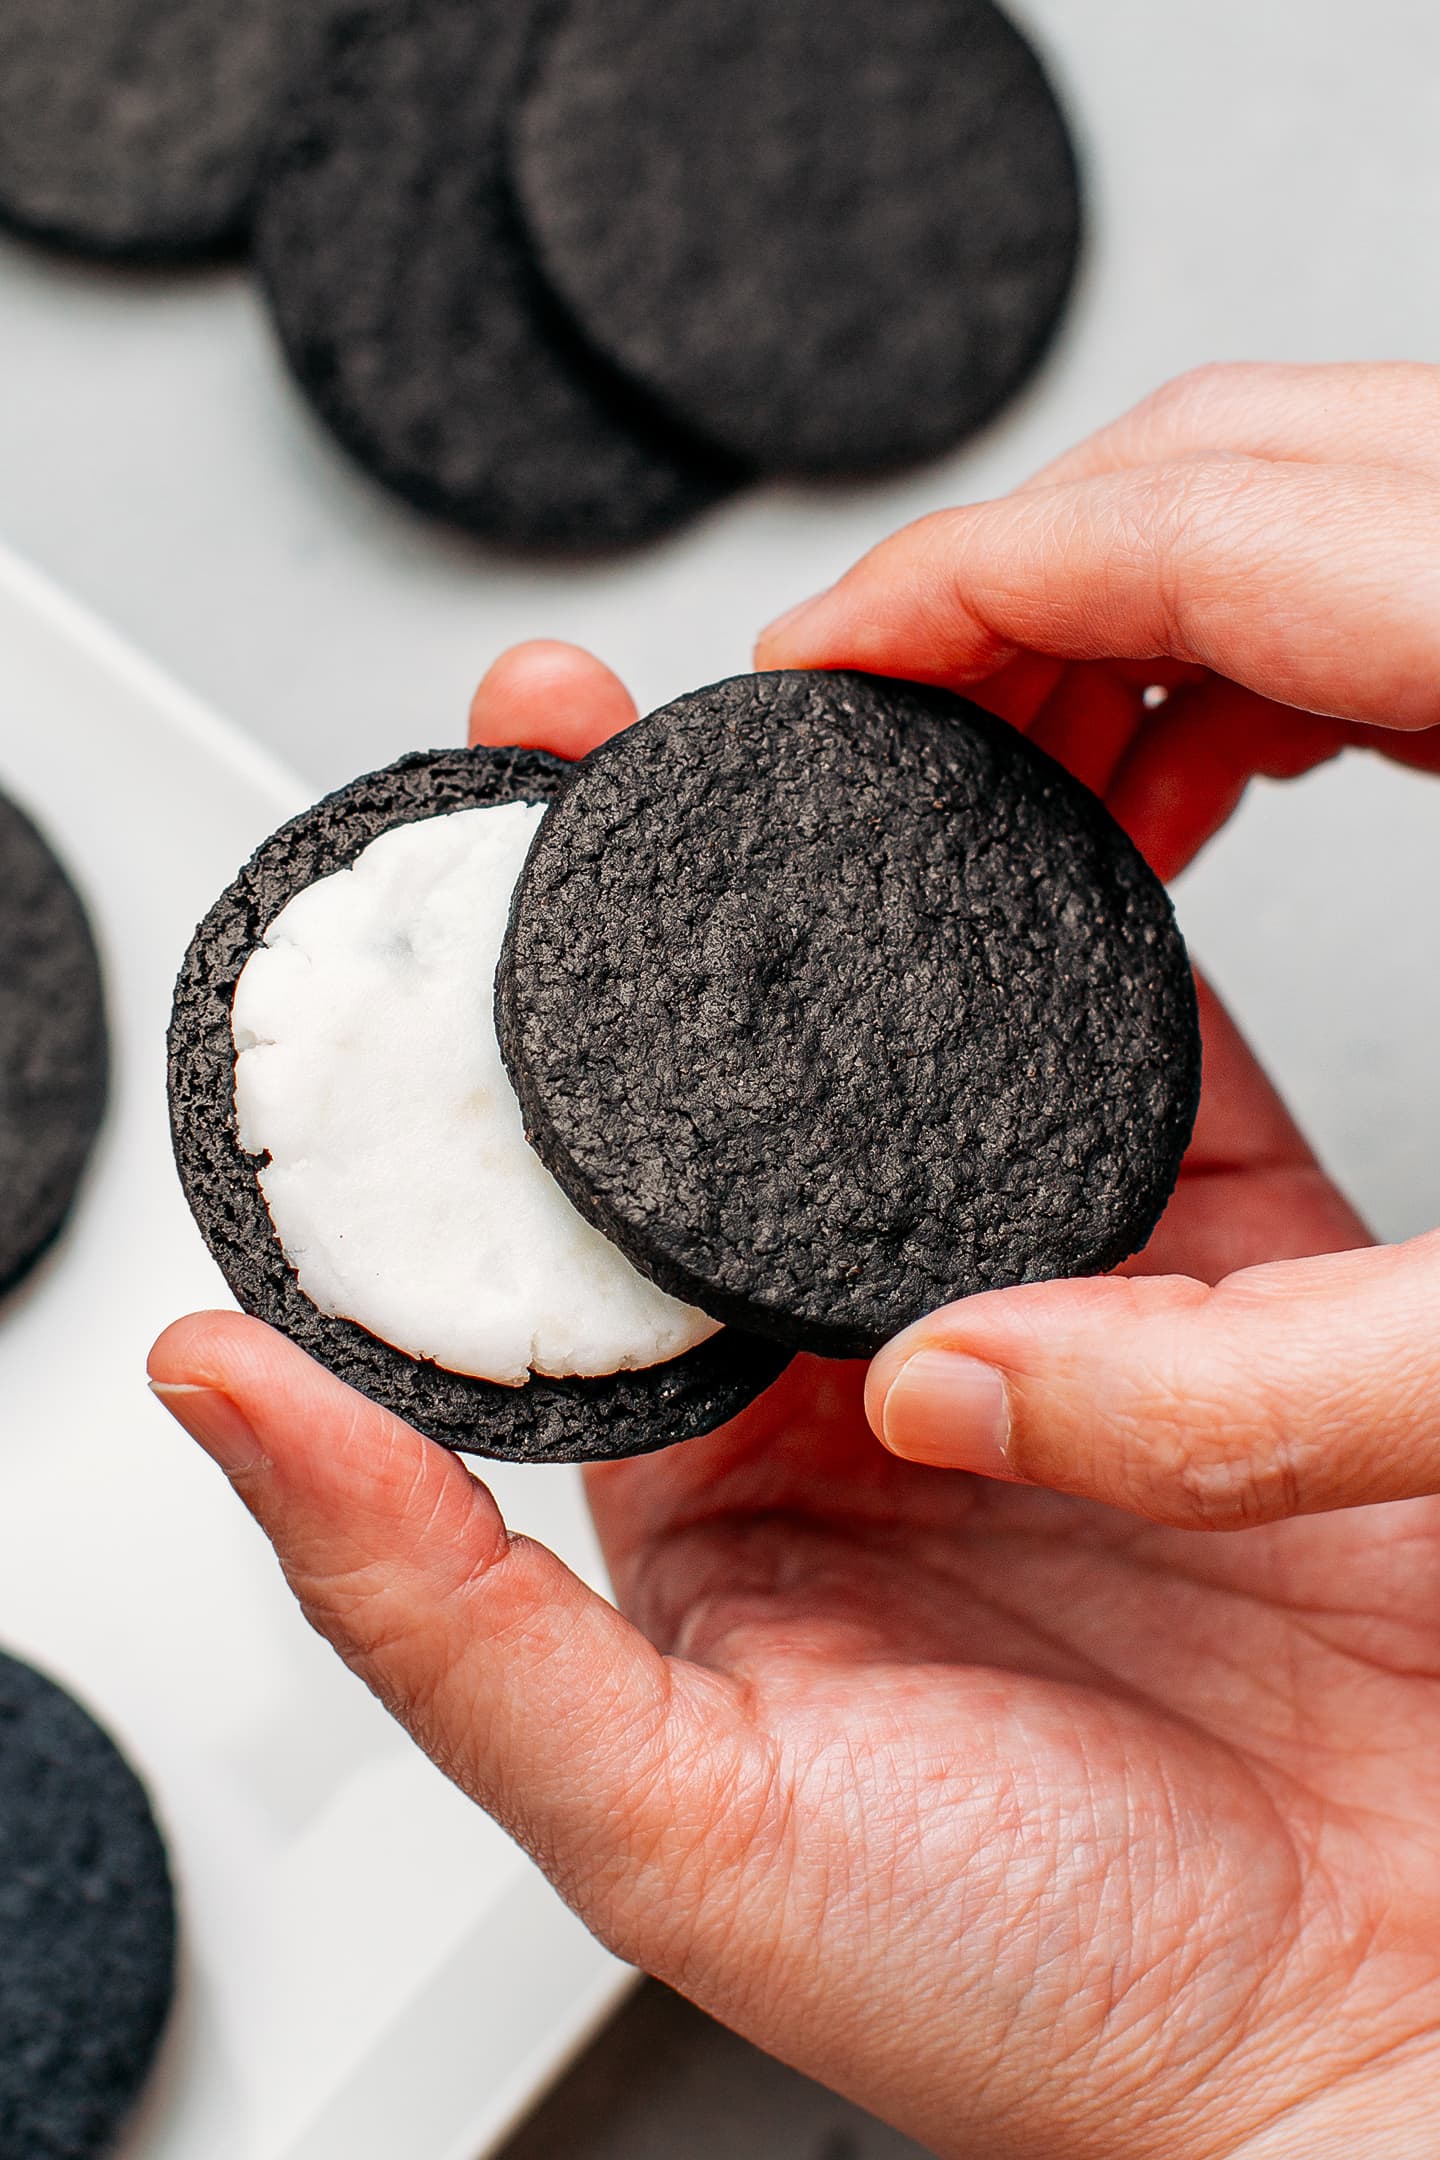
4. Assemble with cream filling

📔 Pro Tips for Success
Chill the dough thoroughly.
Refrigerating the dough makes it much easier to roll out and cut, and it helps the cookies hold their shape perfectly during baking.
Roll evenly.
Aim for a uniform thickness of about 1/8 inch. This ensures all your cookies bake evenly and come out perfectly crispy.
Don’t overbake.
The cookies should be firm but not burnt. They will continue to crisp up as they cool, so remove them from the oven when they’re just set.
Let cool completely.
Allow the wafers to cool fully before adding the filling—this prevents the cream from melting and ensures a perfect sandwich every time.
🥥 Fun Flavor Variations
Looking to switch things up? Here are some creative filling ideas:
- Mint chocolate: Add a few drops of peppermint extract to the cream filling for a refreshing twist.
- Peanut butter: Swap half the butter in the filling for smooth peanut butter.
- Golden Oreo: Replace the black cocoa with regular cocoa powder for a lighter cookie.
- Chocolate cream: Add a tablespoon of cocoa powder to the filling for double chocolate goodness.

🥛 What to Serve It With
These homemade Oreos are wonderful on their own, but they’re even better when dipped in a glass of cold plant-based milk. Try them with almond milk, oat milk, hazelnut milk, or for a fun twist, serve them with black sesame milk for an extra treat!
❄️ Storing and Freezing
Store your homemade Oreos in an airtight container at room temperature for up to 1 week. For longer storage, you can freeze the unfilled cookies for up to 3 months. Simply bake them, let them cool completely, and freeze in a sealed container. When you’re ready, make the filling fresh and assemble them.
💬 Frequently Asked Questions
Can I make the dough ahead of time?
Absolutely! You can keep the flattened dough in the refrigerator for up to 3 days. Just wrap it tightly in plastic wrap to prevent it from drying out.
Why aren’t my cookies crispy?
If your cookies aren’t crispy, they likely weren’t baked long enough. Try adding 1-2 minutes to the baking time and make sure they cool completely on the baking sheet—they crisp up as they cool.
Can I make these gluten-free?
Yes! Substitute the all-purpose flour with a good 1:1 gluten-free baking flour blend. The texture may vary slightly, but they’ll still be delicious.
If you’ve ever wanted to recreate the magic of homemade Oreos, this recipe is for you! These vegan cookies are perfectly crispy, intensely chocolatey, and filled with a fresh, buttery vanilla cream that’s simply irresistible.
Homemade Vegan Oreo Cookies
Ingredients
For the Chocolate Wafers
- 1 1/4 cups all-purpose flour
- 1/2 cup black cocoa powder
- 1/2 cup powdered sugar
- 1/4 tsp salt
- 1/2 cup vegan butter, softened
- 2 tbsp plant-based milk (soy, oat, or almond)
- 1 tsp vanilla extract
For the Vanilla Cream Filling
- 1/2 cup vegan butter, softened
- 2 cups powdered sugar, sifted
- 2 tbsp plant-based milk
- 1 tsp vanilla extract
- Pinch of salt
Instructions
- Make the dough: In a large bowl, whisk together the flour, black cocoa powder, powdered sugar, and salt. Add the softened vegan butter, plant-based milk, and vanilla extract. Mix until a firm dough forms.
- Chill: Shape the dough into a disc, wrap in plastic wrap, and refrigerate for 30 minutes to 1 hour, until firm.
- Preheat and roll: Preheat your oven to 350°F (175°C). Line two baking sheets with parchment paper. On a lightly floured surface, roll out the chilled dough to about 1/8 inch thickness.
- Cut out cookies: Use a 2-inch round cookie cutter (or a fluted cutter for decorative edges) to cut out circles. Place them on the prepared baking sheets, leaving a little space between each cookie.
- Bake: Bake for 10-12 minutes, until the cookies are firm to the touch. Let them cool completely on the baking sheets.
- Make the filling: In a medium bowl, beat the softened vegan butter until creamy. Gradually add the sifted powdered sugar, plant-based milk, vanilla extract, and salt. Beat until light and fluffy (about 3-4 minutes).
- Assemble: Transfer the filling to a piping bag with a round tip (or use a small spatula). Pipe or spread a generous amount of filling onto the flat side of one wafer. Top with another wafer, flat side down, and gently press together.
- Set: Let the assembled cookies sit for 15-20 minutes to allow the filling to set before serving.
Notes
- Black cocoa powder: This is essential for the authentic Oreo color and flavor. Regular cocoa powder won’t give the same dark result.
- Thickness: Roll the dough as evenly as possible for consistent baking results.
- Storage: Store in an airtight container at room temperature for up to 1 week.
- Freezing: Freeze unfilled wafers for up to 3 months and fill fresh when ready to serve.